Tips And Tricks For The Beginner - Chain Piecing - What It Is And How To Do It
Posted on
There are times when you should take it easy and enjoy the whole process of quilting rather than rushing to finish the current project and launching oneself onto the next creation. However there is nothing wrong with finding efficient ways to save time and chain piecing is a perfect example. Not only does it save time but also it also saves a lot of thread and so saves money, which has to be a good thing.
Chain piecing couldn’t be simpler and once you’ve started putting it into practice you’ll find that you can utilise the technique for much of your piecing.
Start off as normal with two pieces of fabric, right sides together, lift your presser foot and position the fabric using a ¼” seam allowance. Lower the presser foot and the needle. There is no need to back stitch.
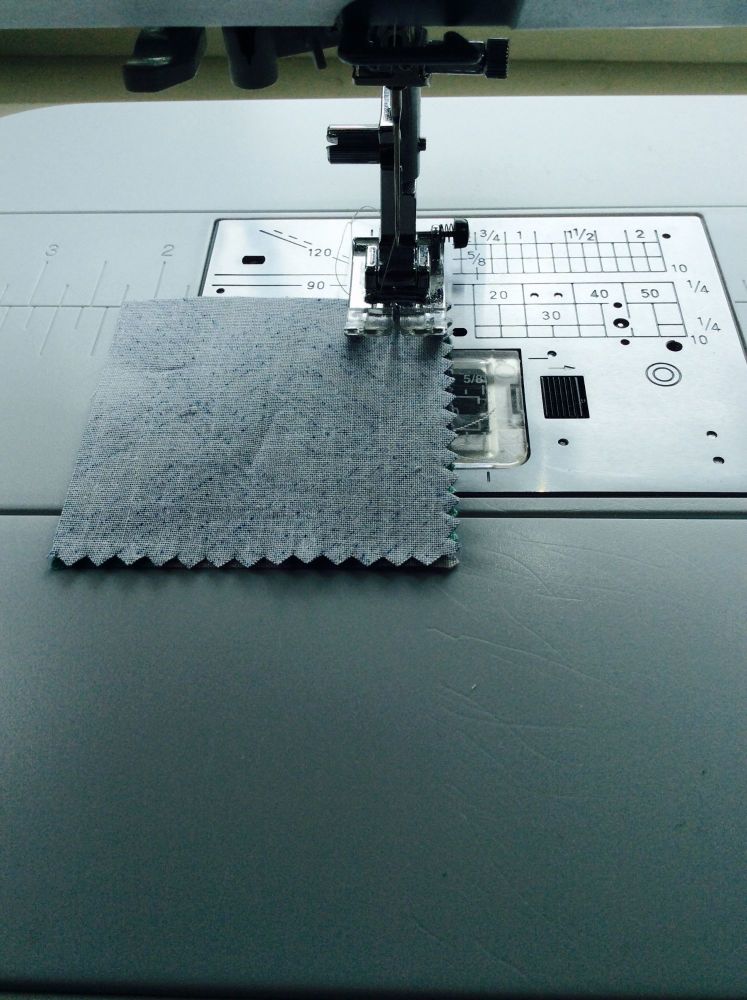
Sew along the edge of the fabric to the end. Instead of stopping, sew a couple more stitches. With the needle in the down position place your next two pieces of fabric in position with right sides together and continuing sewing. It’s worth sewing those extra couple of stitches when you reach the end of each seam so that when it comes to cutting the thread you don’t accidentally snip into the fabric. You can always lift the presser foot to position the next pieces but do make sure that you have the needle in the down position. 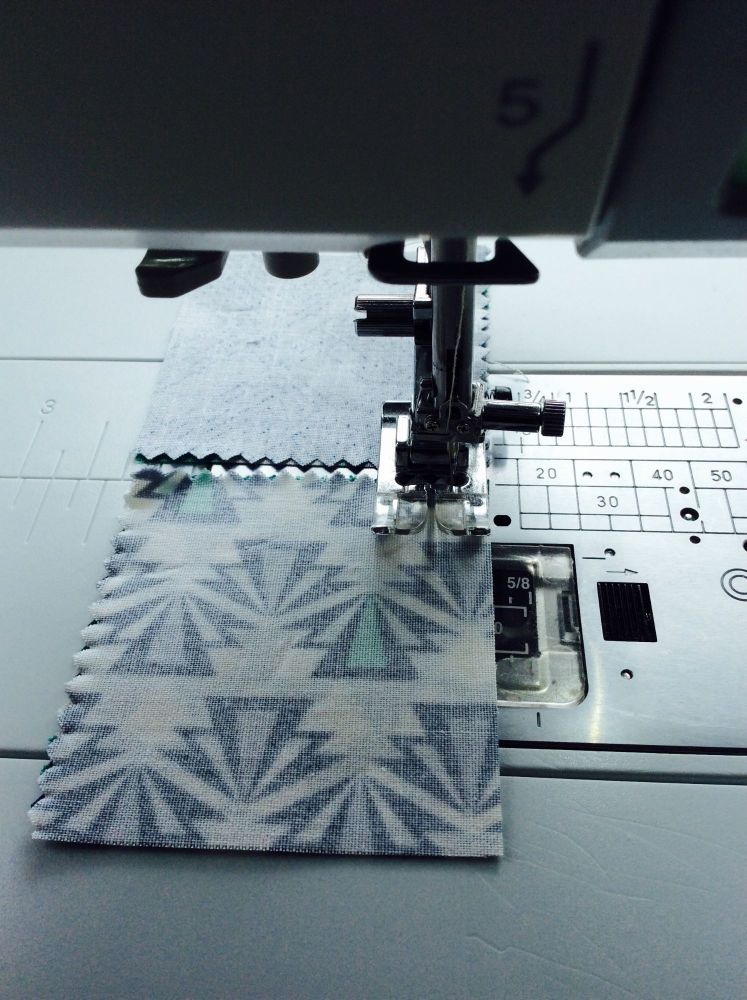
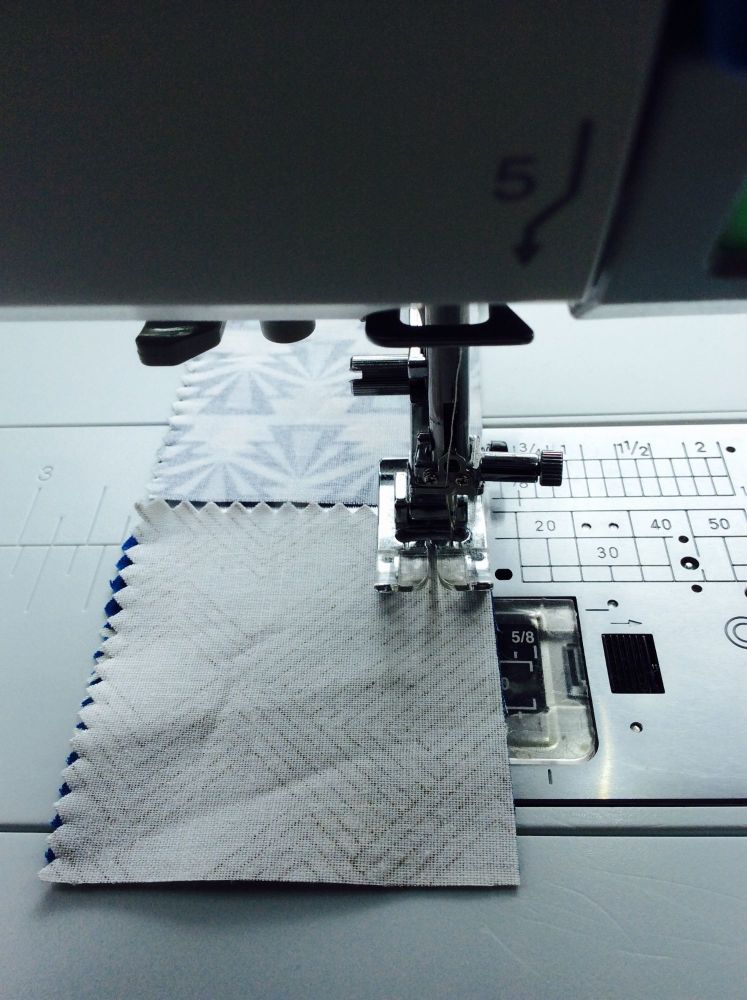
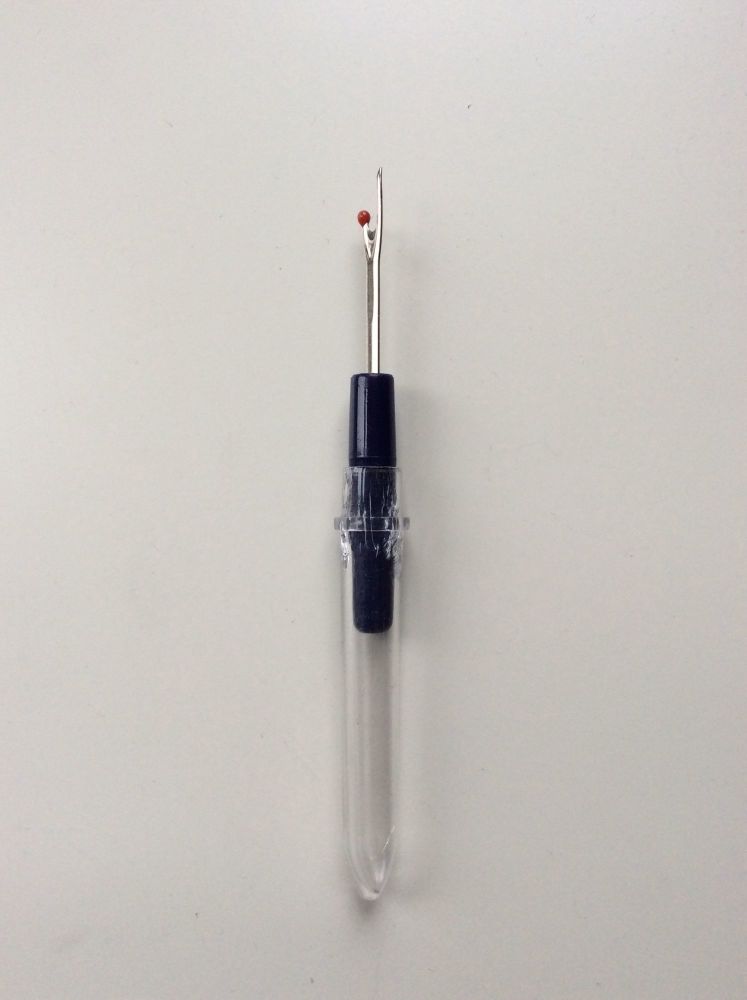
You do have to make sure that you have the pieces in the right order if you are following a pattern or you are using designs which aren’t interchangeable, so for example if something needs to be one direction it’s worth double checking that you’ve got it in the right position and similarly that you have sewn on the side you want it (on the left or right side). If you forget you may have to use one of these!
When you have sewn your pieces together you will have a long chain and all you need to do is snip the thread, press your pieces and continue. You can repeat the chain piecing process as your project grows. If you have an odd number of pieces in a row you will obviously need to break the chain.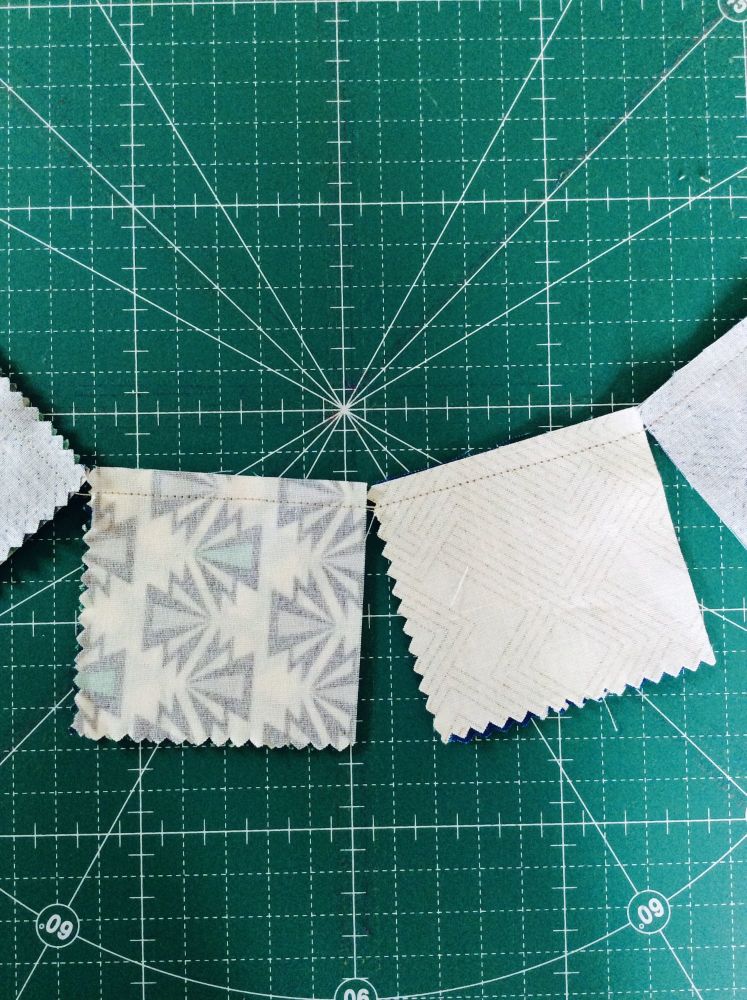
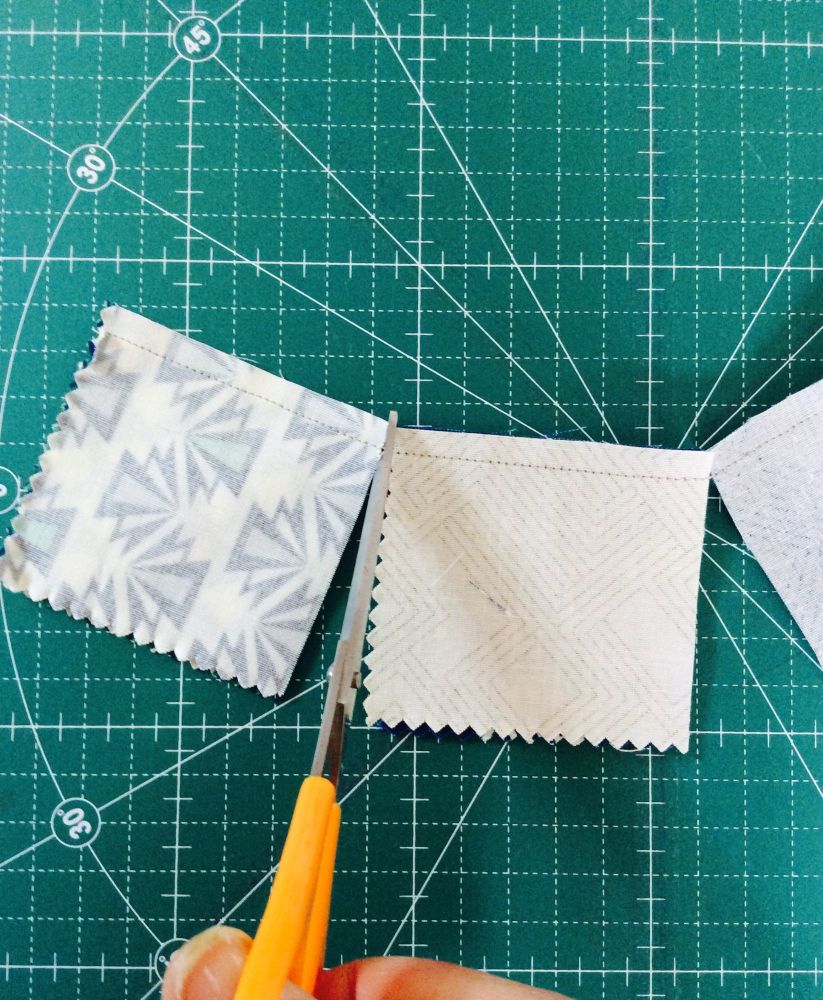
Once you get the hang of chain piecing you will use it all the time.
I use chain piecing for most of my projects and also use it when making binding where the seams are on the diagonal. (I will do a separate blog on making binding in a few weeks’ time.)
I hope you've found this useful!

Add a comment: