Blog/Tutorials

 RSS Feed

» Listings for 2016

  1. Image 3

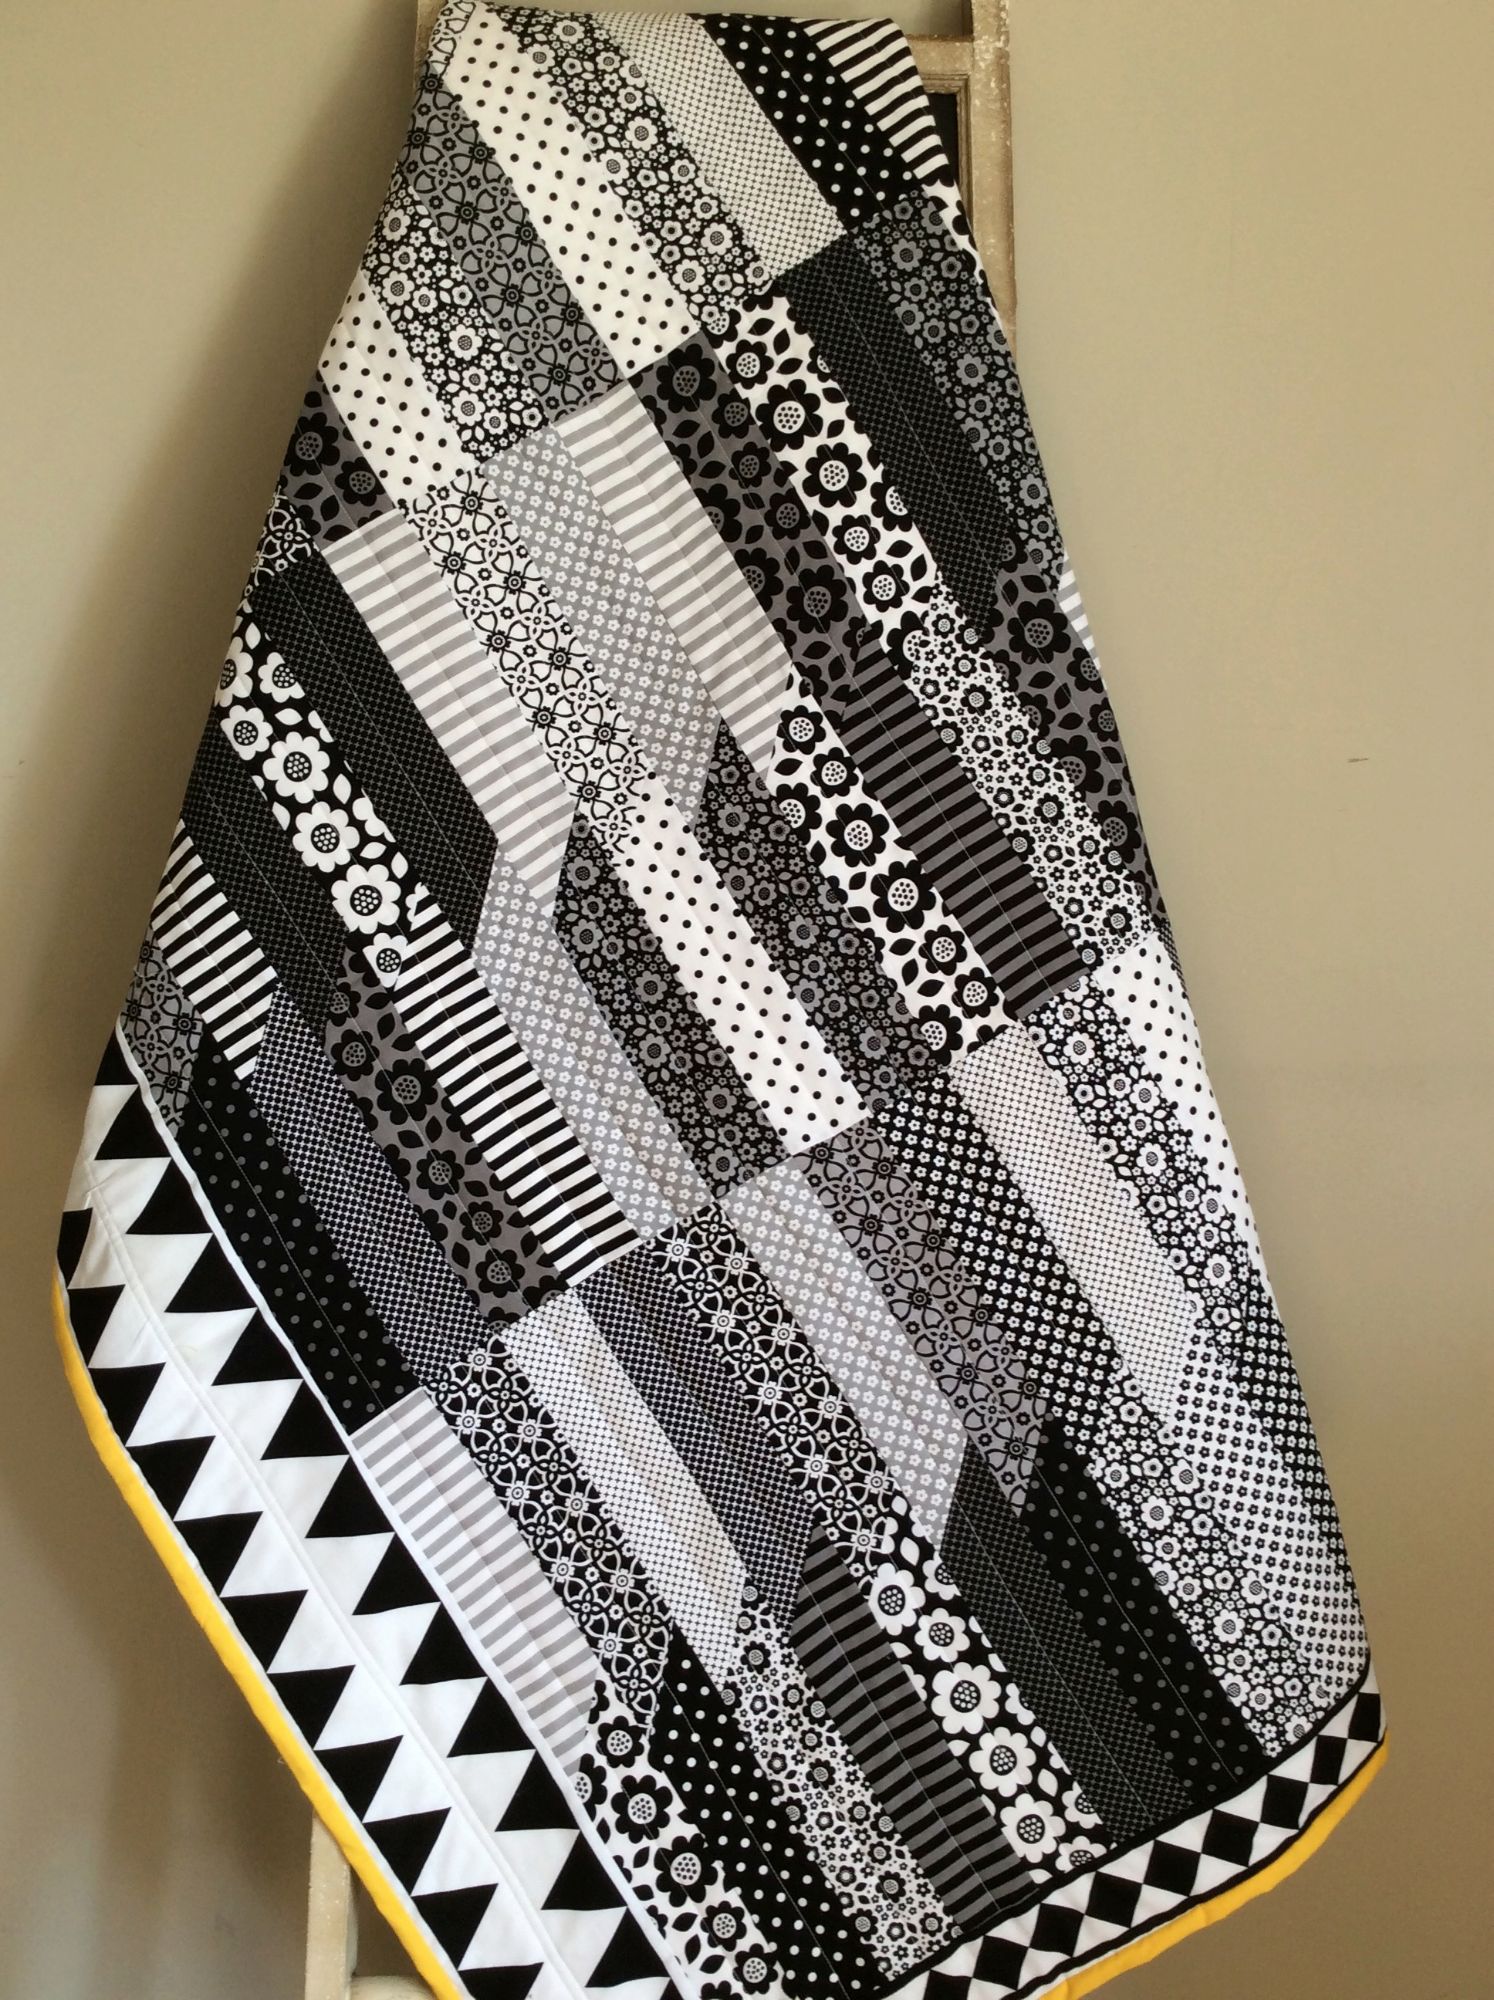
    As a fan of pre-cut fabric I like to see what I can make with just a bundle or two.  Sometimes, but not always, I have a rough idea of the look I'm after.  

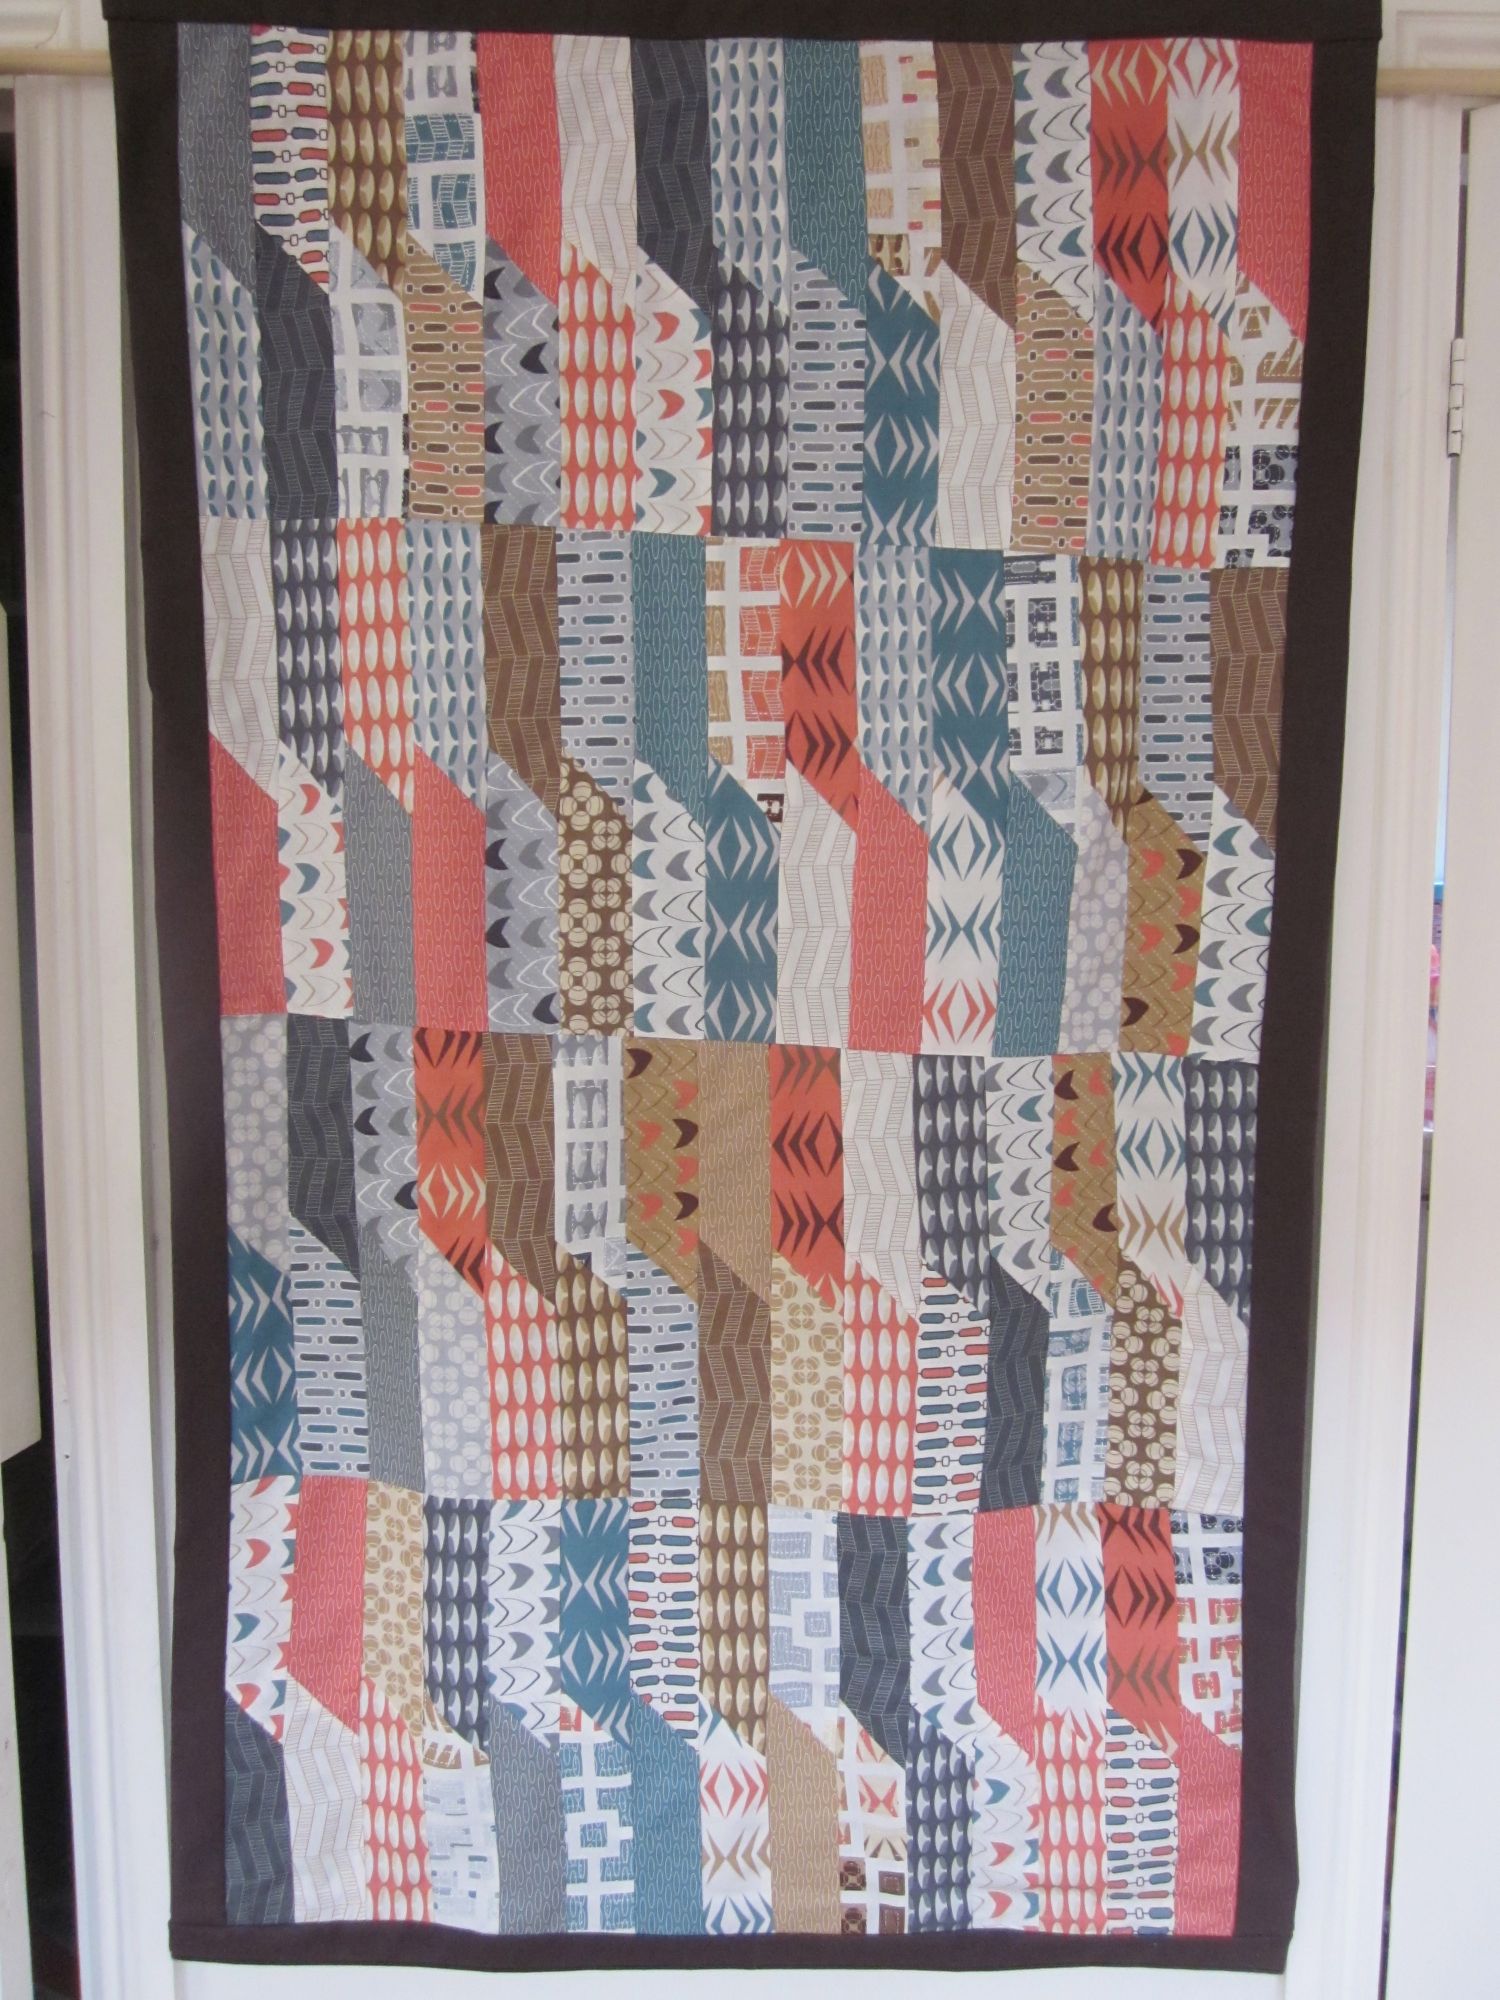
    Riley Blake's Dot & Dash fabric seemed like the perfect bundle to try out something creative.  I used a pattern I came up with ages ago which I used for a wall hanging.   At the end of this blog I've included an image of the wall hanging for illustration purposes.

    After posting a photo of the Dot and Dash quilt on some quilting sites, several people asked for details about the pattern so I decided I would re-do the quilt top and try to improve it.  I haven't quilted the latest piece yet, so I've only done the top so far, as I'm currently eagerly waiting to receive a 1/4" ruler foot so I can try my hand at using some templates and ruler work to quilt the piece. 

    My original quilt measured  W36.5" x L55.5" or W92.5 cms x L140.5 cms and the latest version now measures W45" x L56" or W114 cms x L142 cms.

    If you are planning to use the Dot and Dash Rollie Pollie, bear in mind that it has only 21 strips so if you want a larger quilt use 2 or more bundles.  Alternatively you could use a Dot and Dash 10" Stacker (small layer cake) which has 21 10" squares.  This could be sliced into 2.5" strips.
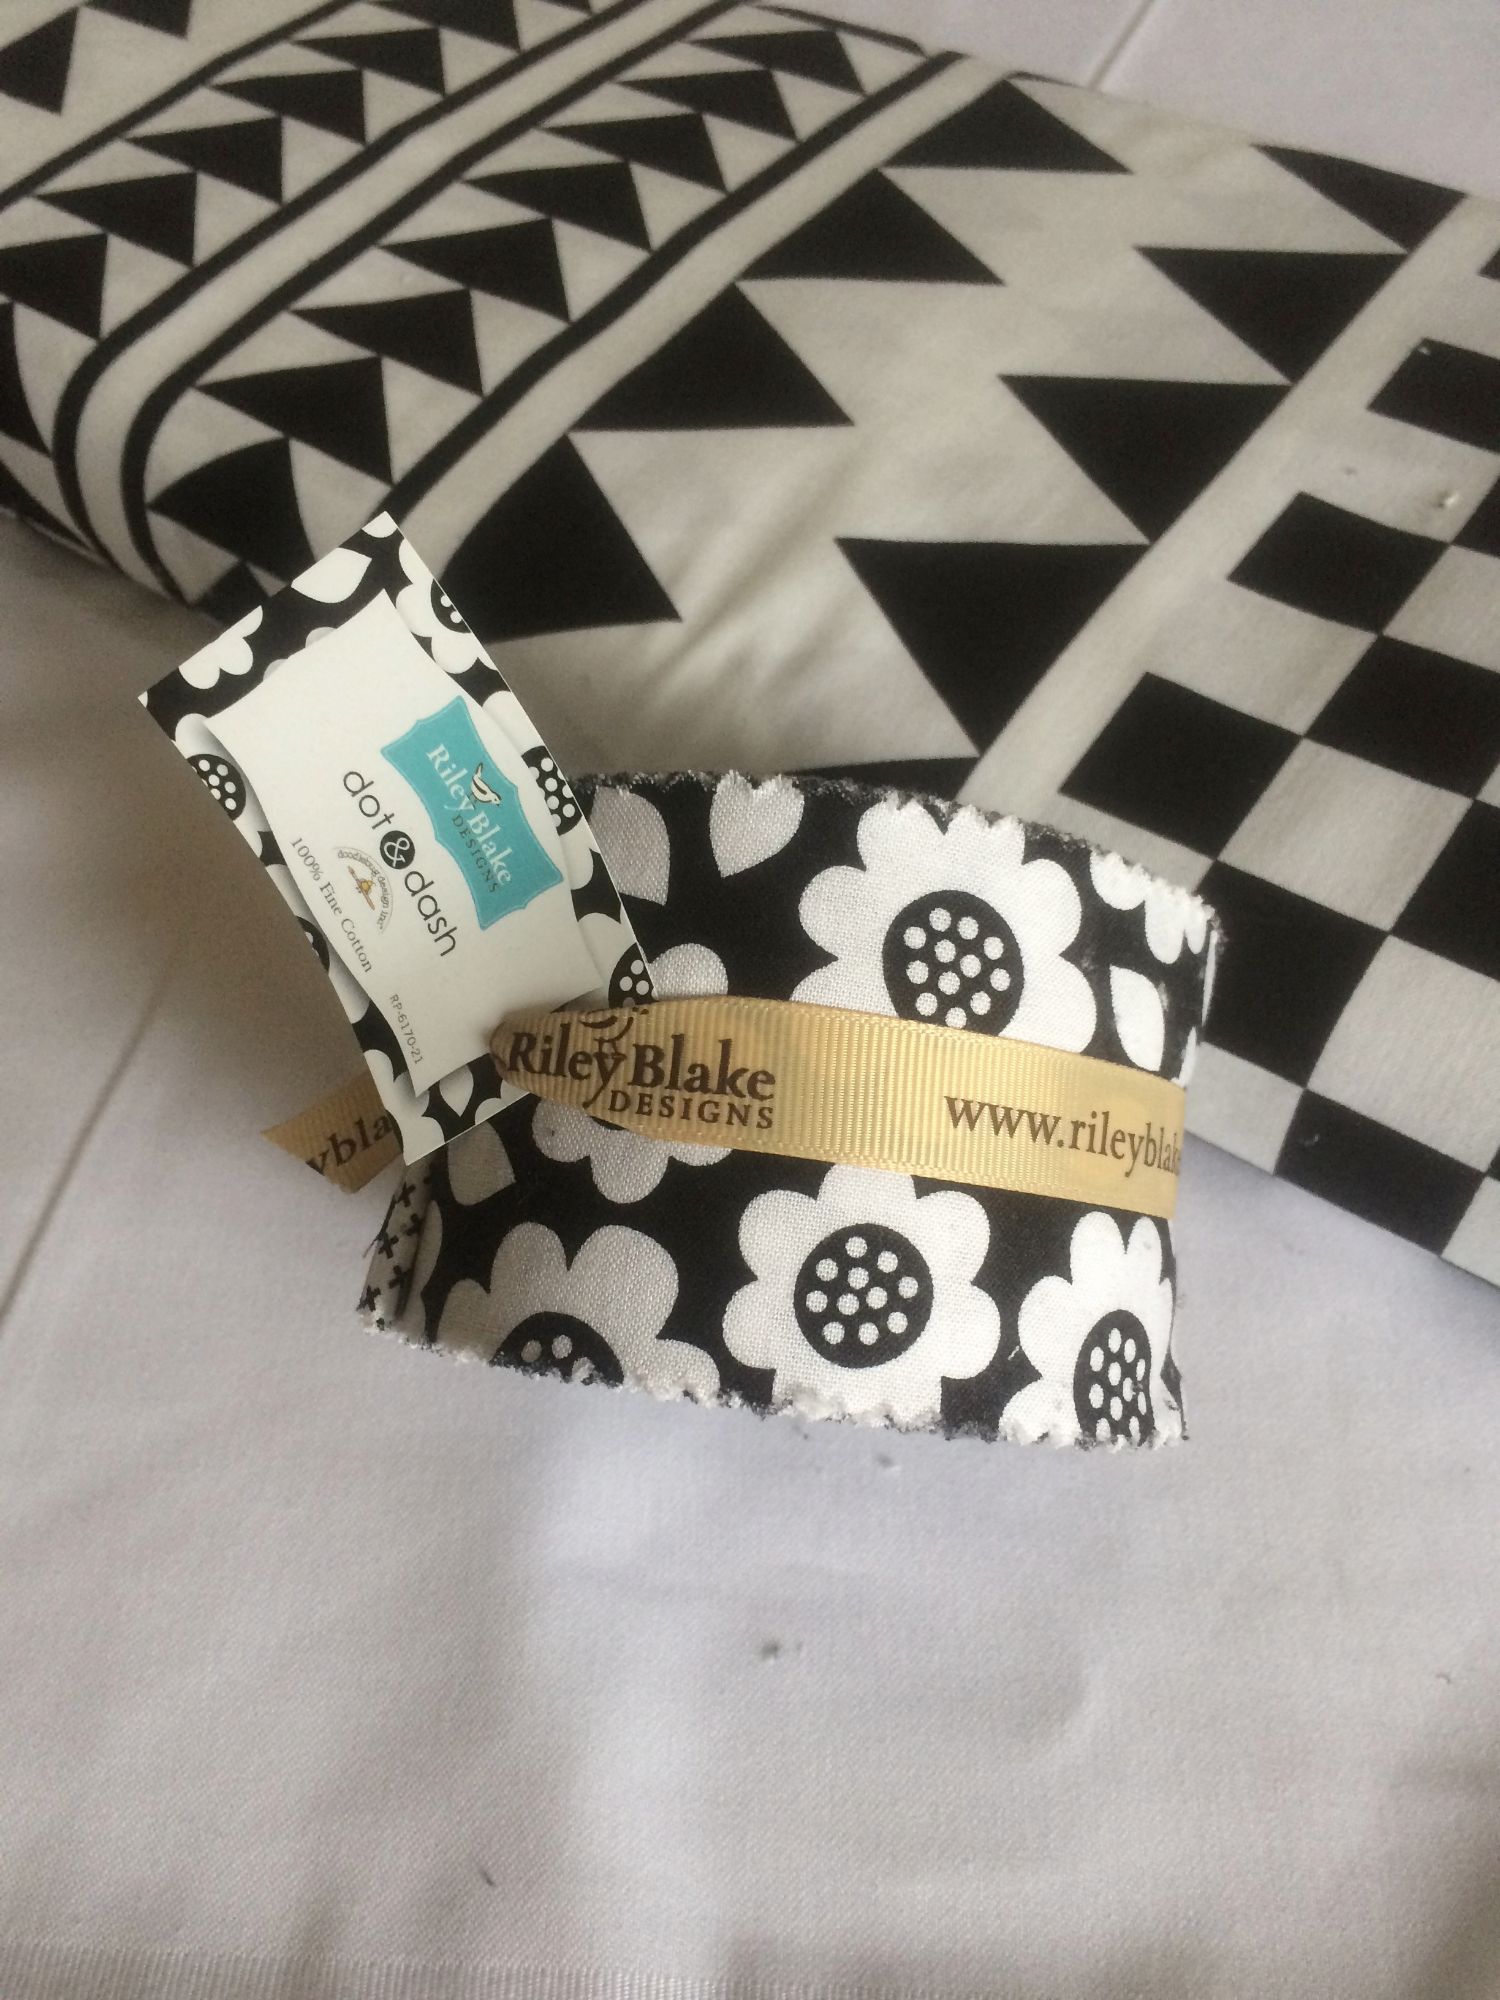
    Image 3

    Cut 10" strips out of the 21 pieces - or you could cut 11" pieces at a pinch - if you're feeling brave.  You should now have 84 10" pieces.   To achieve maximum effect, try to make sure you place the pieces so that you have a dark print against a light one.  On the diagonal, you want the colours to blend or 'bleed' into each other.

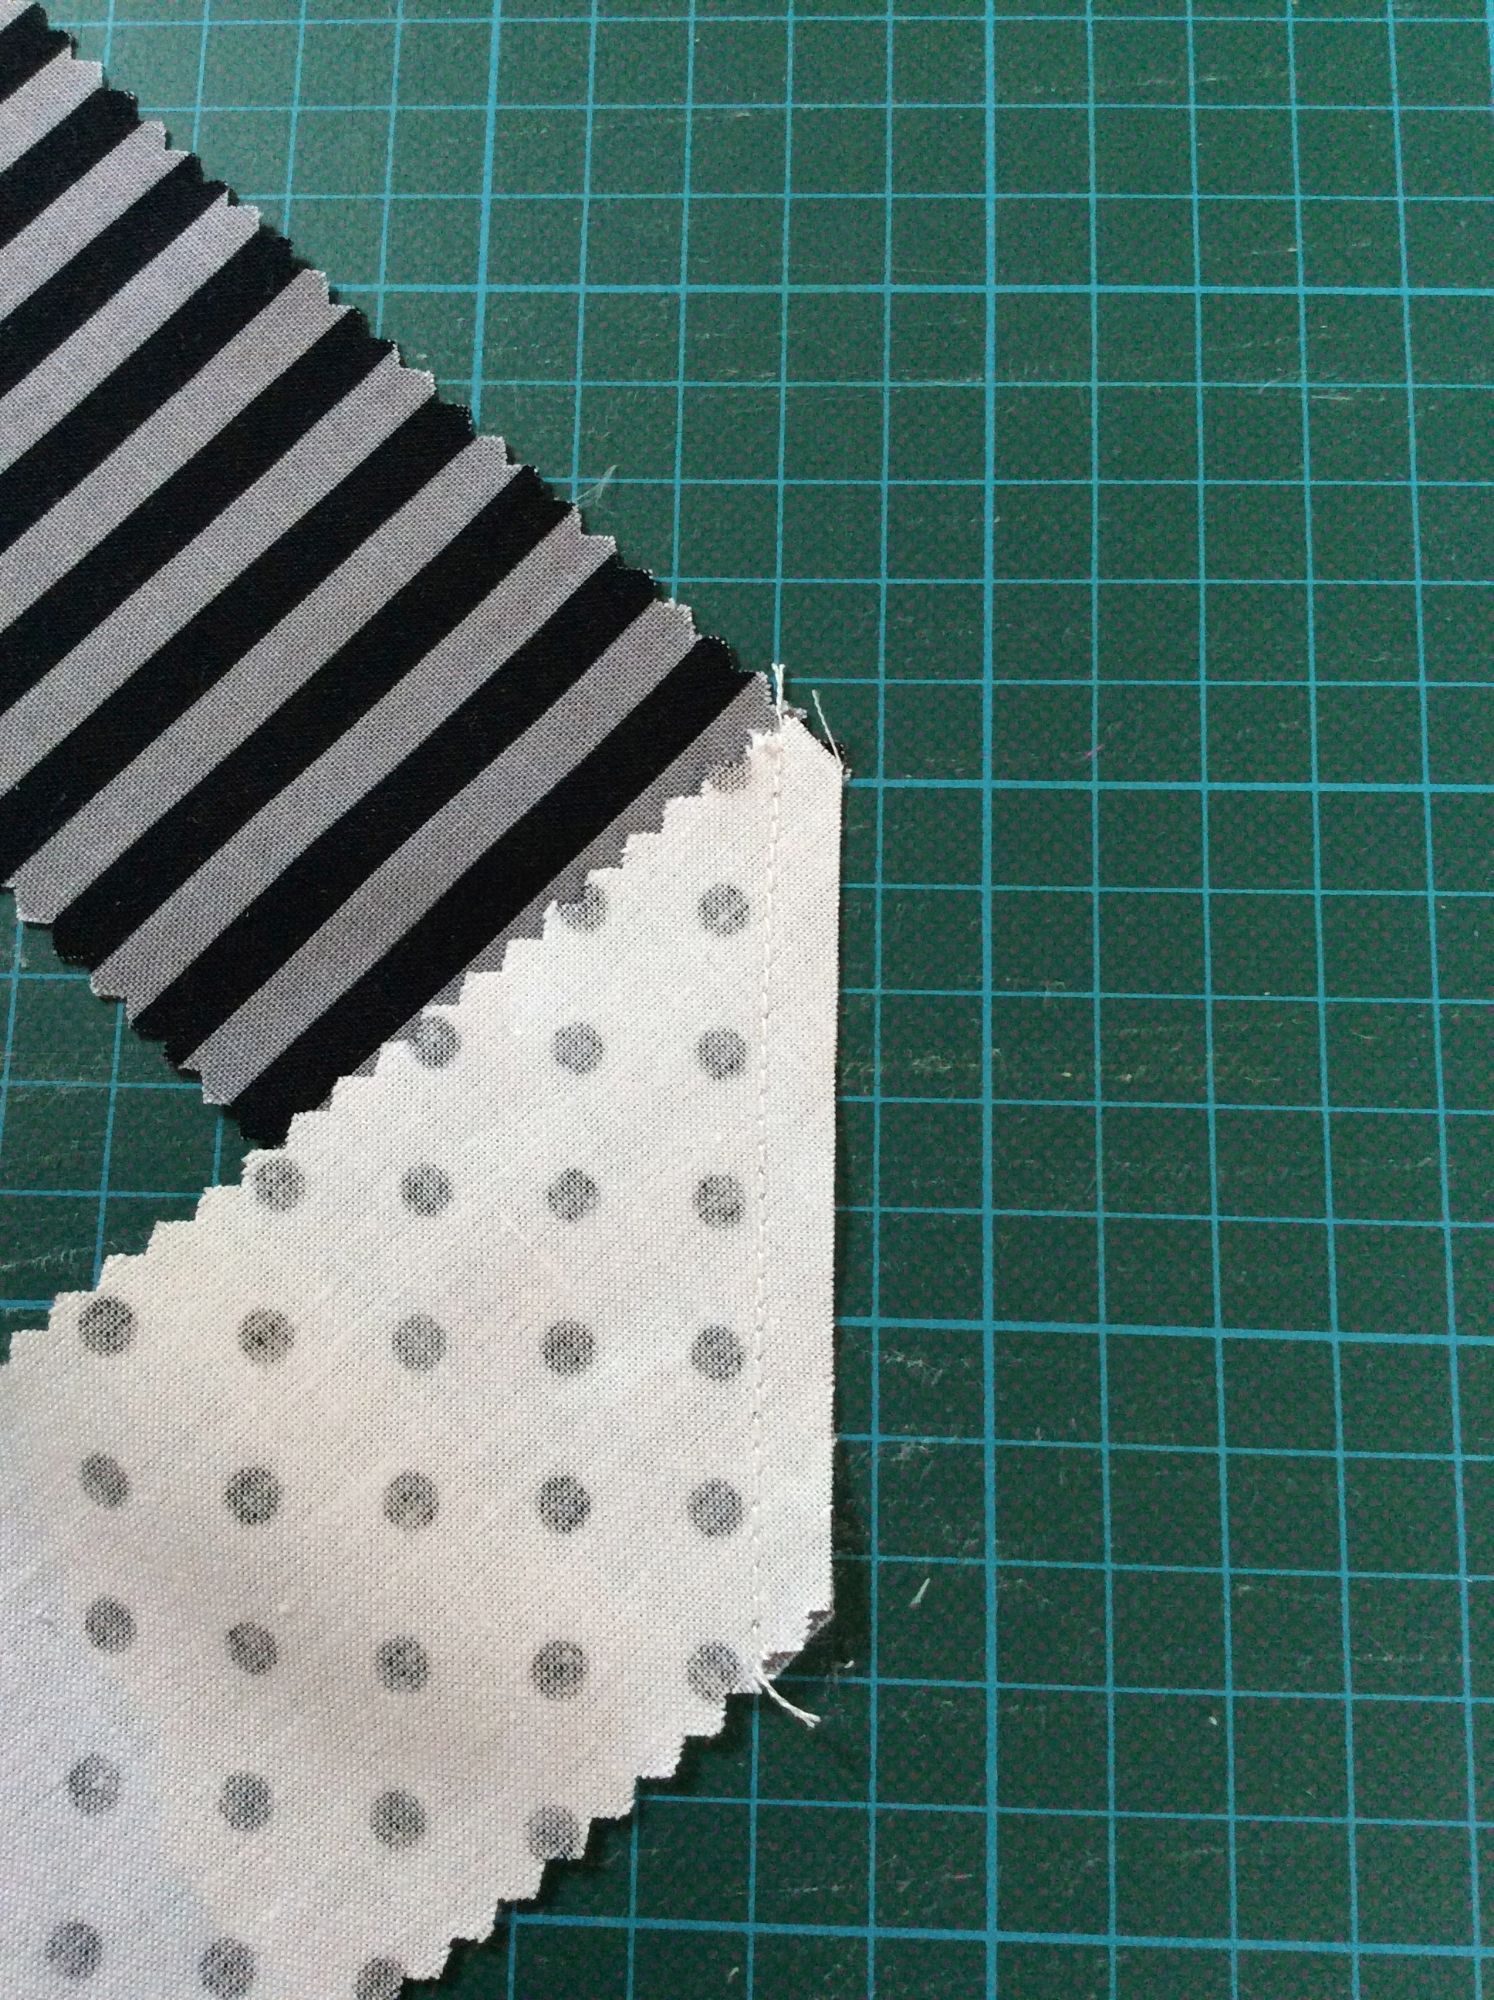
    Those familiar with chain piecing can use this to speed up the process.  The method for achieving the diagonal line is exactly the same as for making a binding. Don't worry, I will explain how this is done anyway.

    Divide your 84 pieces into two piles - one dark and the other light - and, starting with the dark fabric, place it with right side facing up in a horizontal position.  Next, place a piece of the light fabric facing down vertically.  You can press a crease line, mark a line or, as I did, 'eye ball' the line and then sew a diagonal as illustrated in the image below.  If you have a binding tool, which I don't (at the moment at any rate) you can use that instead. 
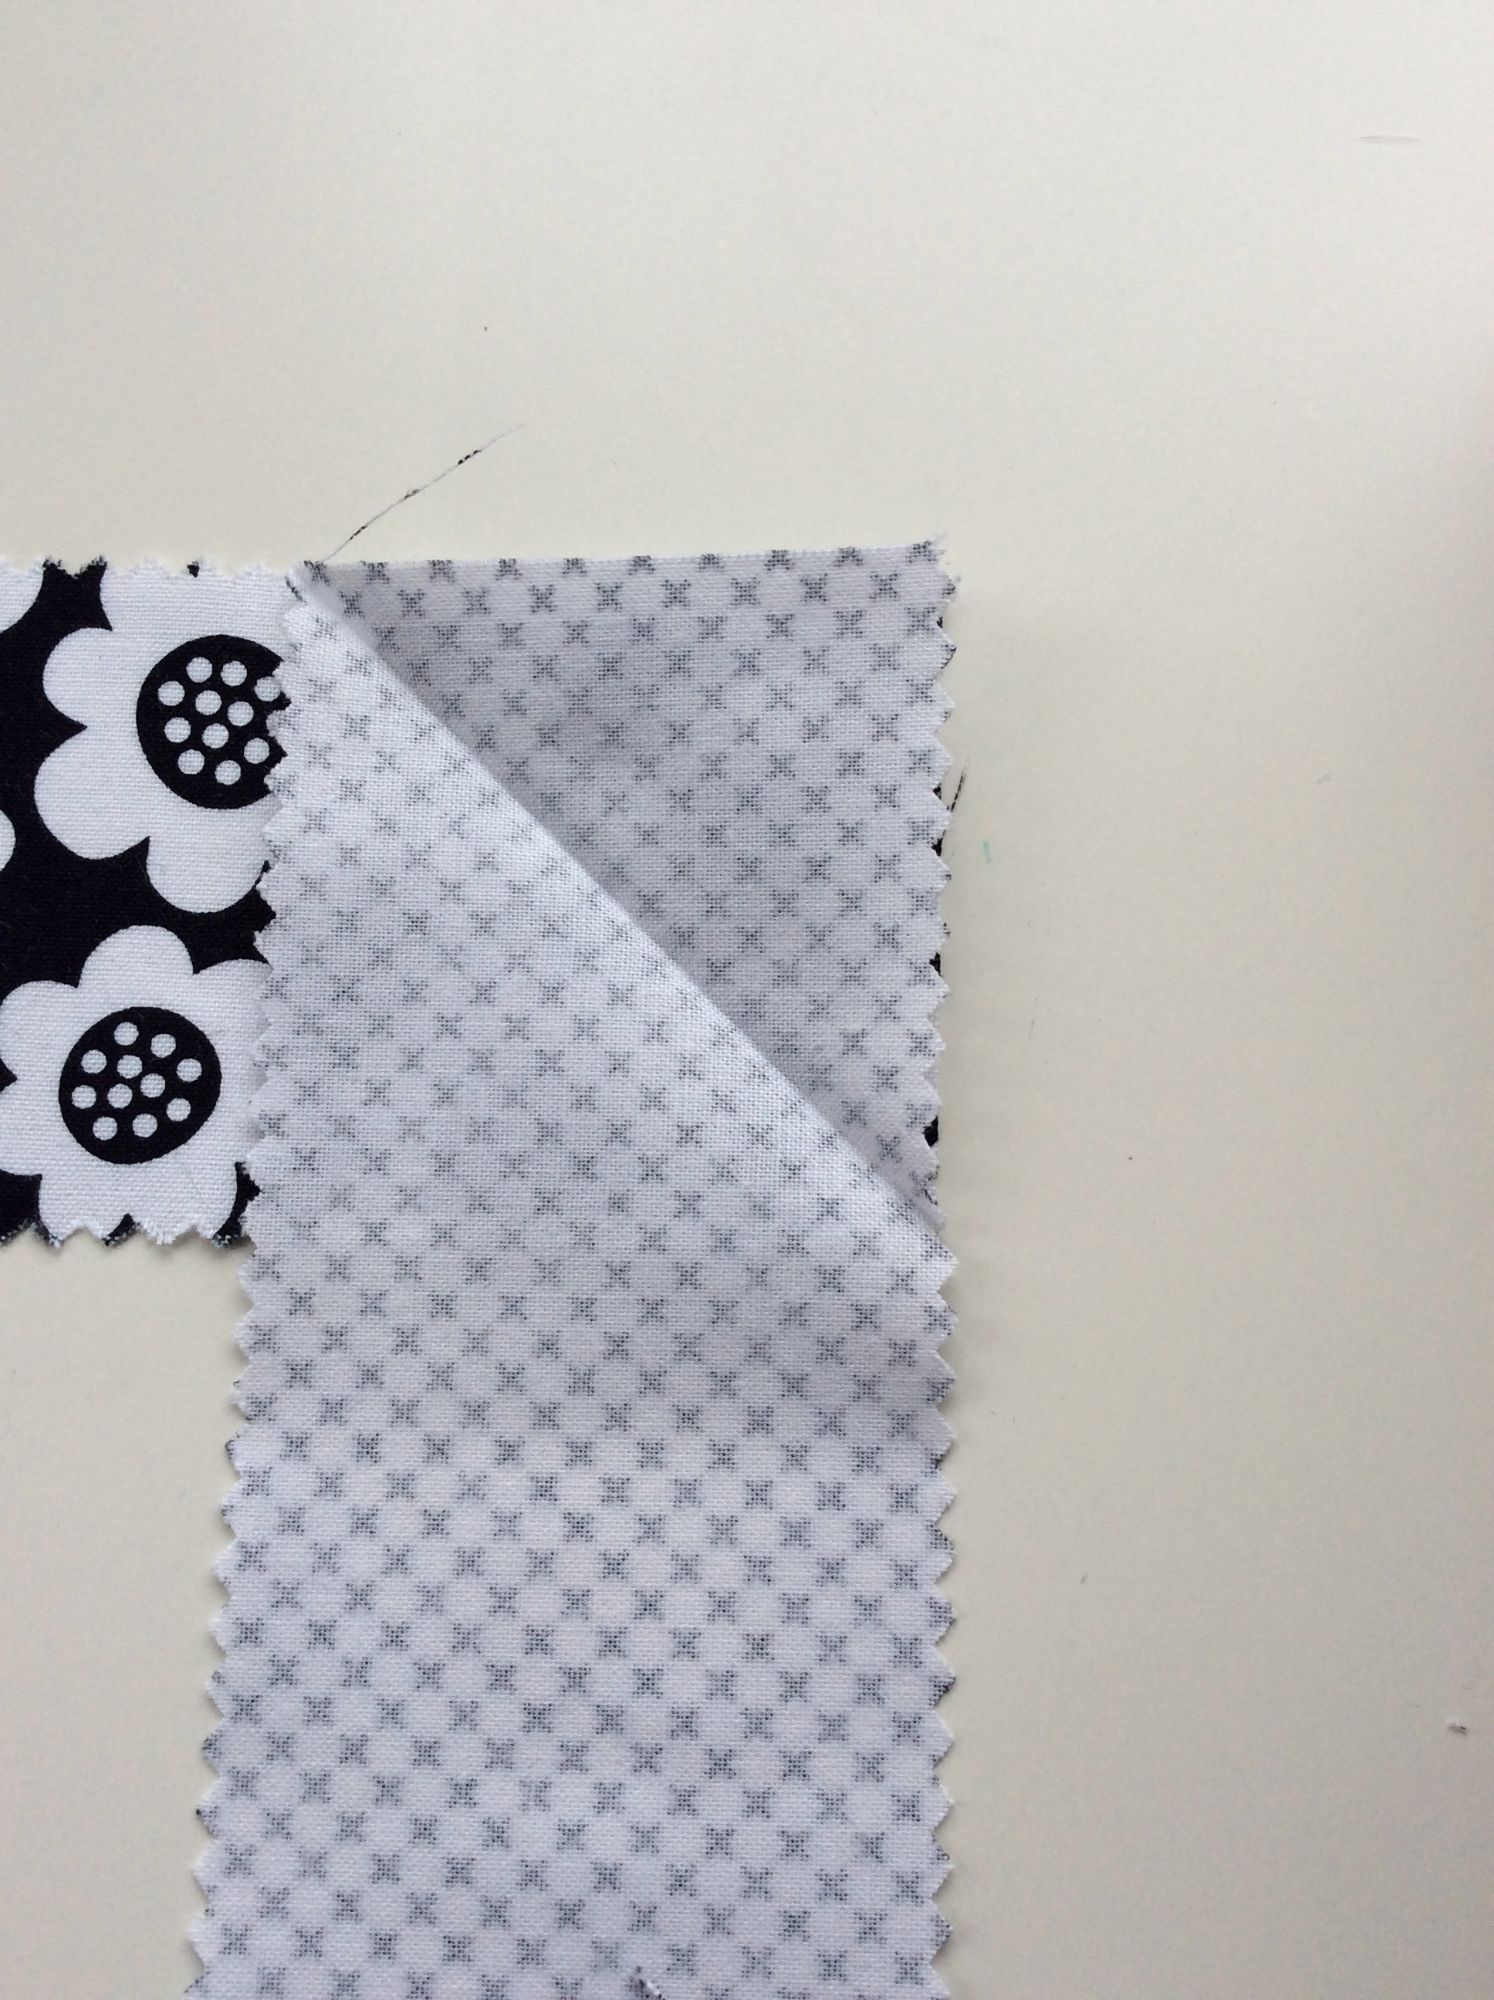
    Image 2

    Repeat this until you have 21 strips with the dark fabric on the left and the light side on the right.  Now repeat the process with the remaining pieces, this time with the light fabric on the left and the dark fabric on the right.  This is precautionary for anyone using fabric that isn't interchangeable - in other words if the pattern needs to be a certain way up.  Once all 42 pairs (21 dark/light and 21 light/dark) are complete, trim off the excess fabric, so that you are left with a 1/4" seam. 
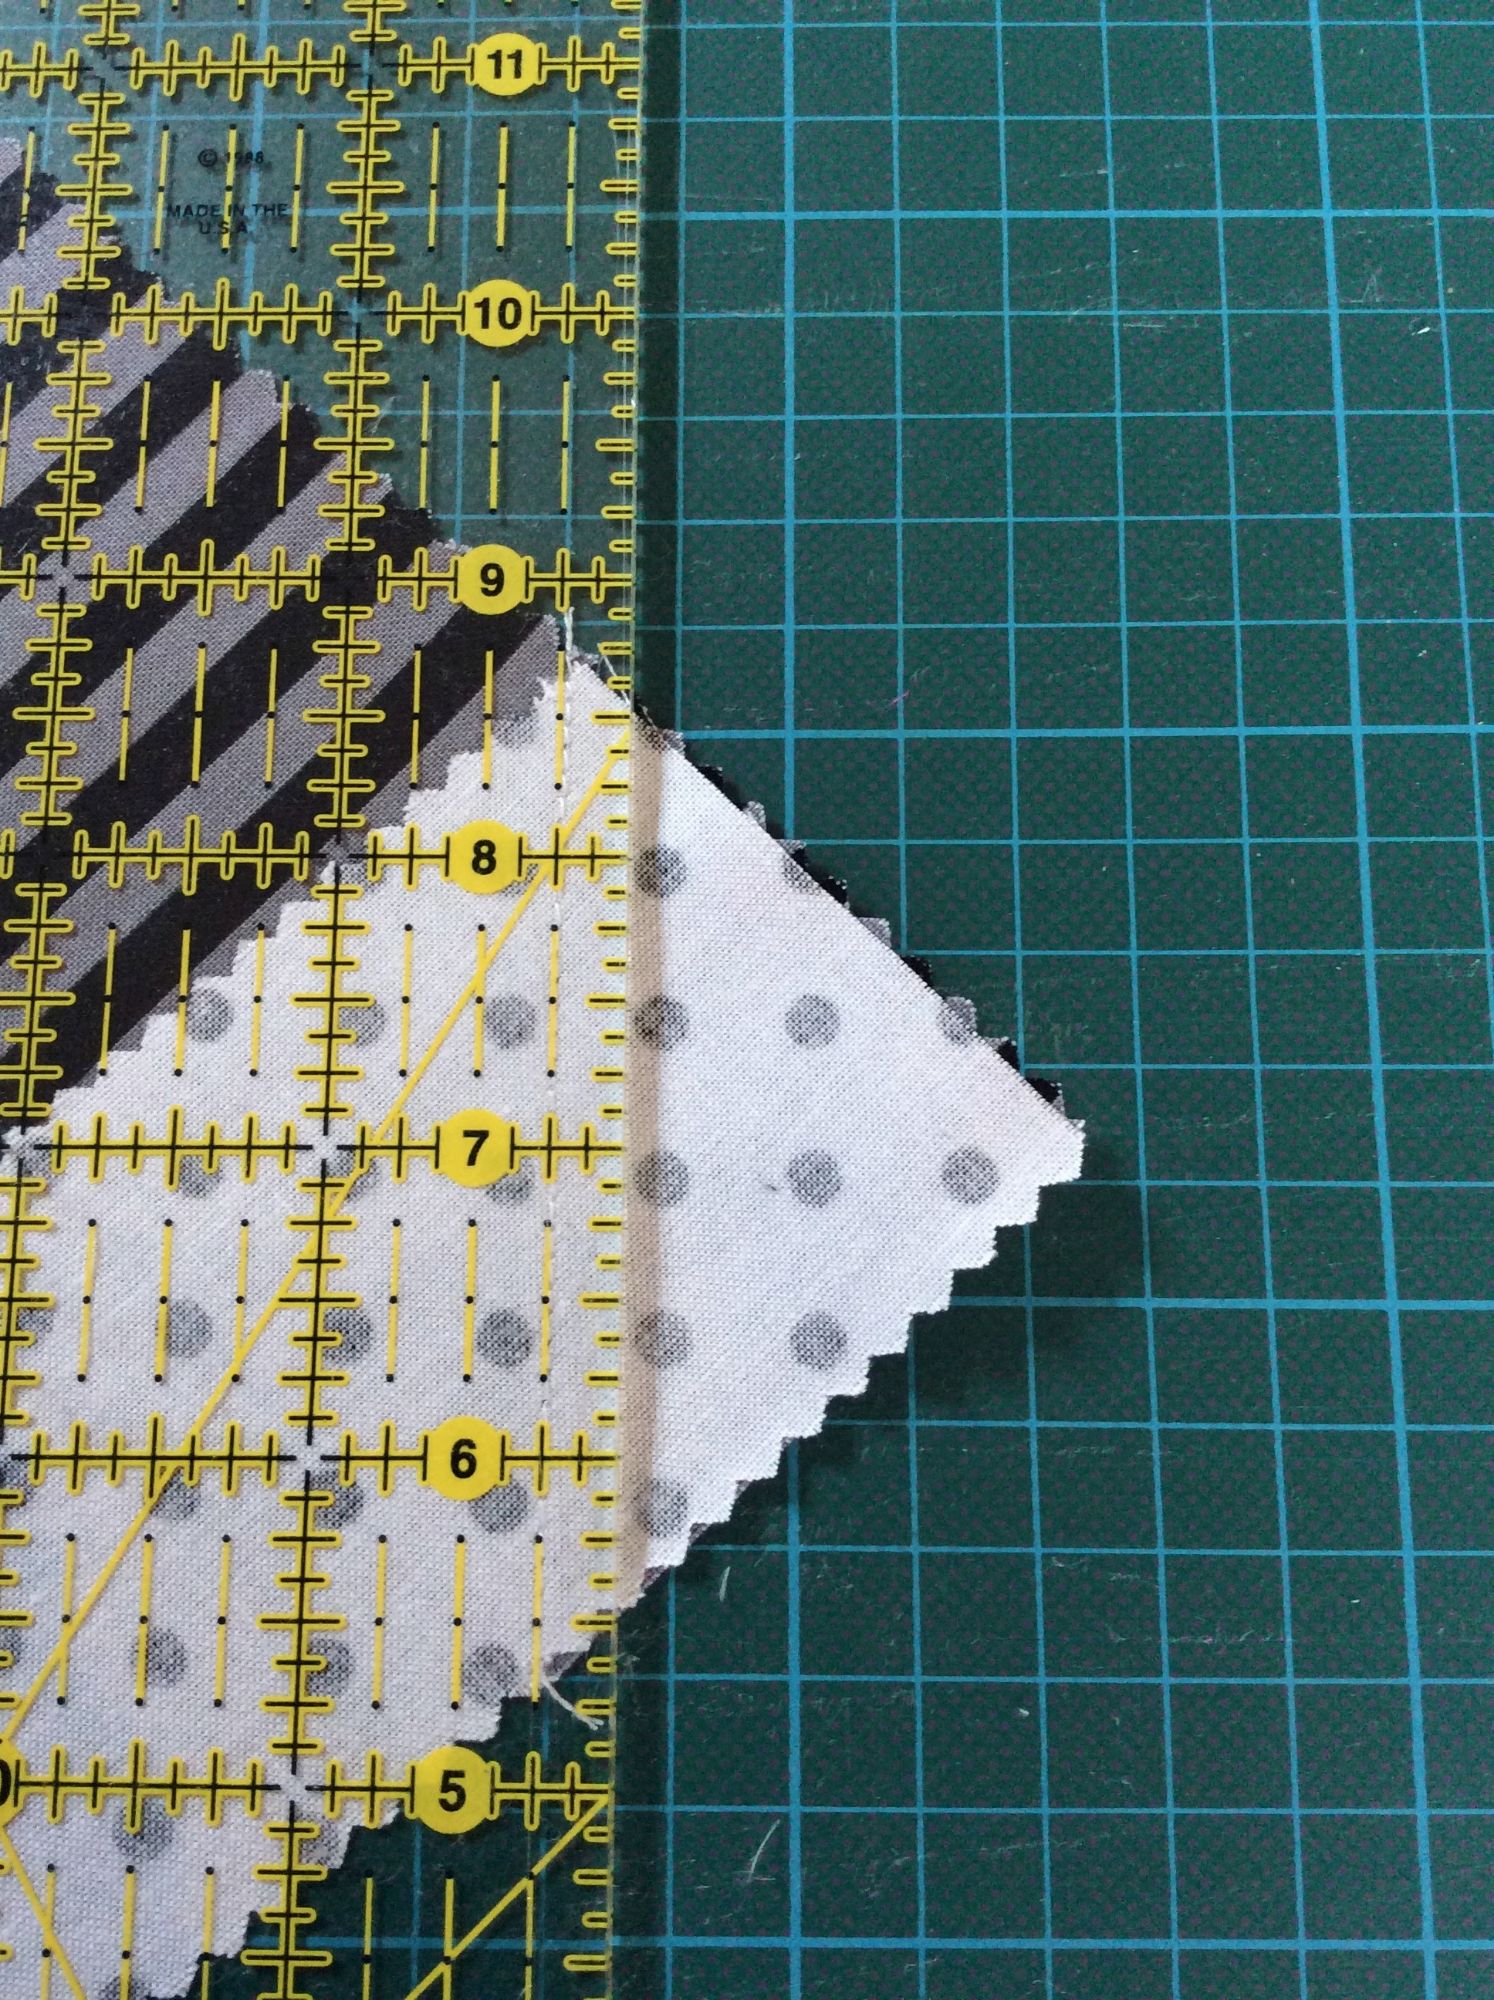
    Image 4


    Image 1Set and press the seams.

    Now lay all the pieces out and try to make sure that there's an even distribution of the patterns.  Make three columns (so, 3 pairs placed horizontally) and 14 rows in total if you are using the Dot & Dash Rollie Pollie.  If using another jelly roll, you may have to adapt the number of columns and rows.   This is a good opportunity to chain piece.   I like to sew two at a time to make four rows etc., and when these are complete, set, press and repeat the process until you end up with an equal number of rows in each column which you then sew together.

    For the original Dot & Dash quilt I made, I have to confess that it ended up smaller than I intended and I had to trim it down, to correct a mistake I'd made, so for this latest one I've made it larger.  I used Riley Blake's Sashing Stash for the border,  and, as you will see from the image below, the design of the Sashing Stash is really versatile.  You can simply use one or more sections, whatever appeals to you, and make the quilt as wide or long as you like.  You could add a splash of colour and have two borders.  I will be using the Sashing Stash for the backing on this quilt, as I did for the original.  The measurement for the side borders of the original quilt is 5" (12.5 cms) and, for the end border, 2.5" (6 cms).  For the latest version I extended the side borders to  9" on each side (23 cms).
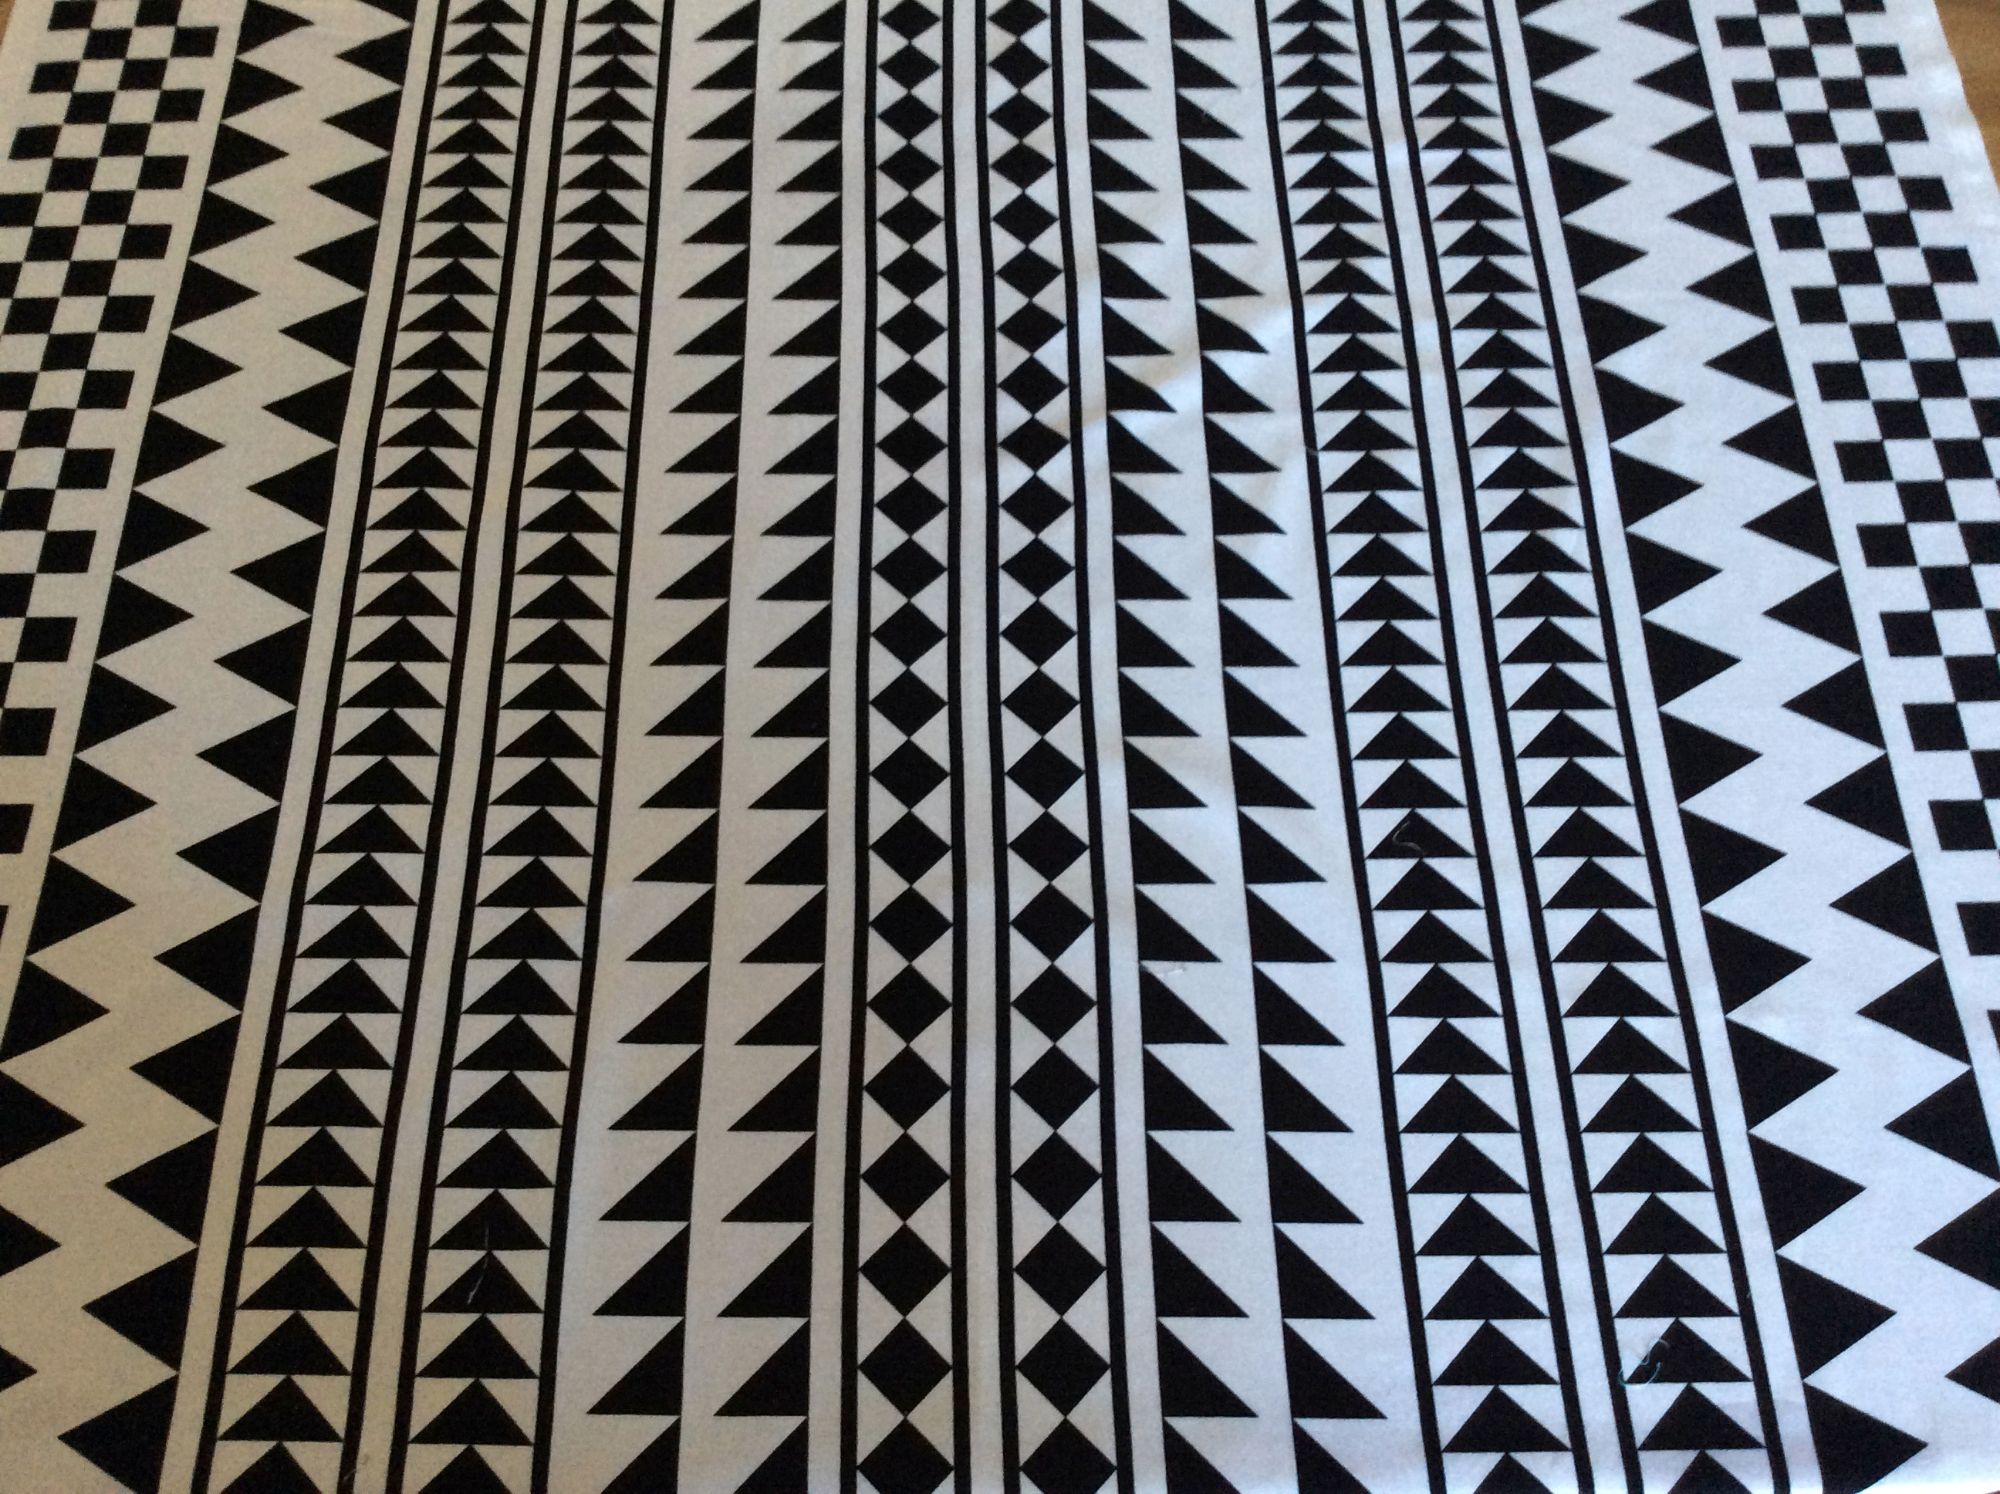
    Image 5

    When I made the first quilt I used an egg-yolk yellow binding as I wanted the quilt to 'pop'.  I tried various options but, for me, the yellow worked best of all.  I'm undecided about what colour to use for the latest version.  I'll quilt it first and then decide.

    Below are a couple of images of the quilt top I've just made, one taken vertically and the other horizontally and a couple of images of the wall hanging I mentioned above so that you can see what it looks like when using more colour variations.
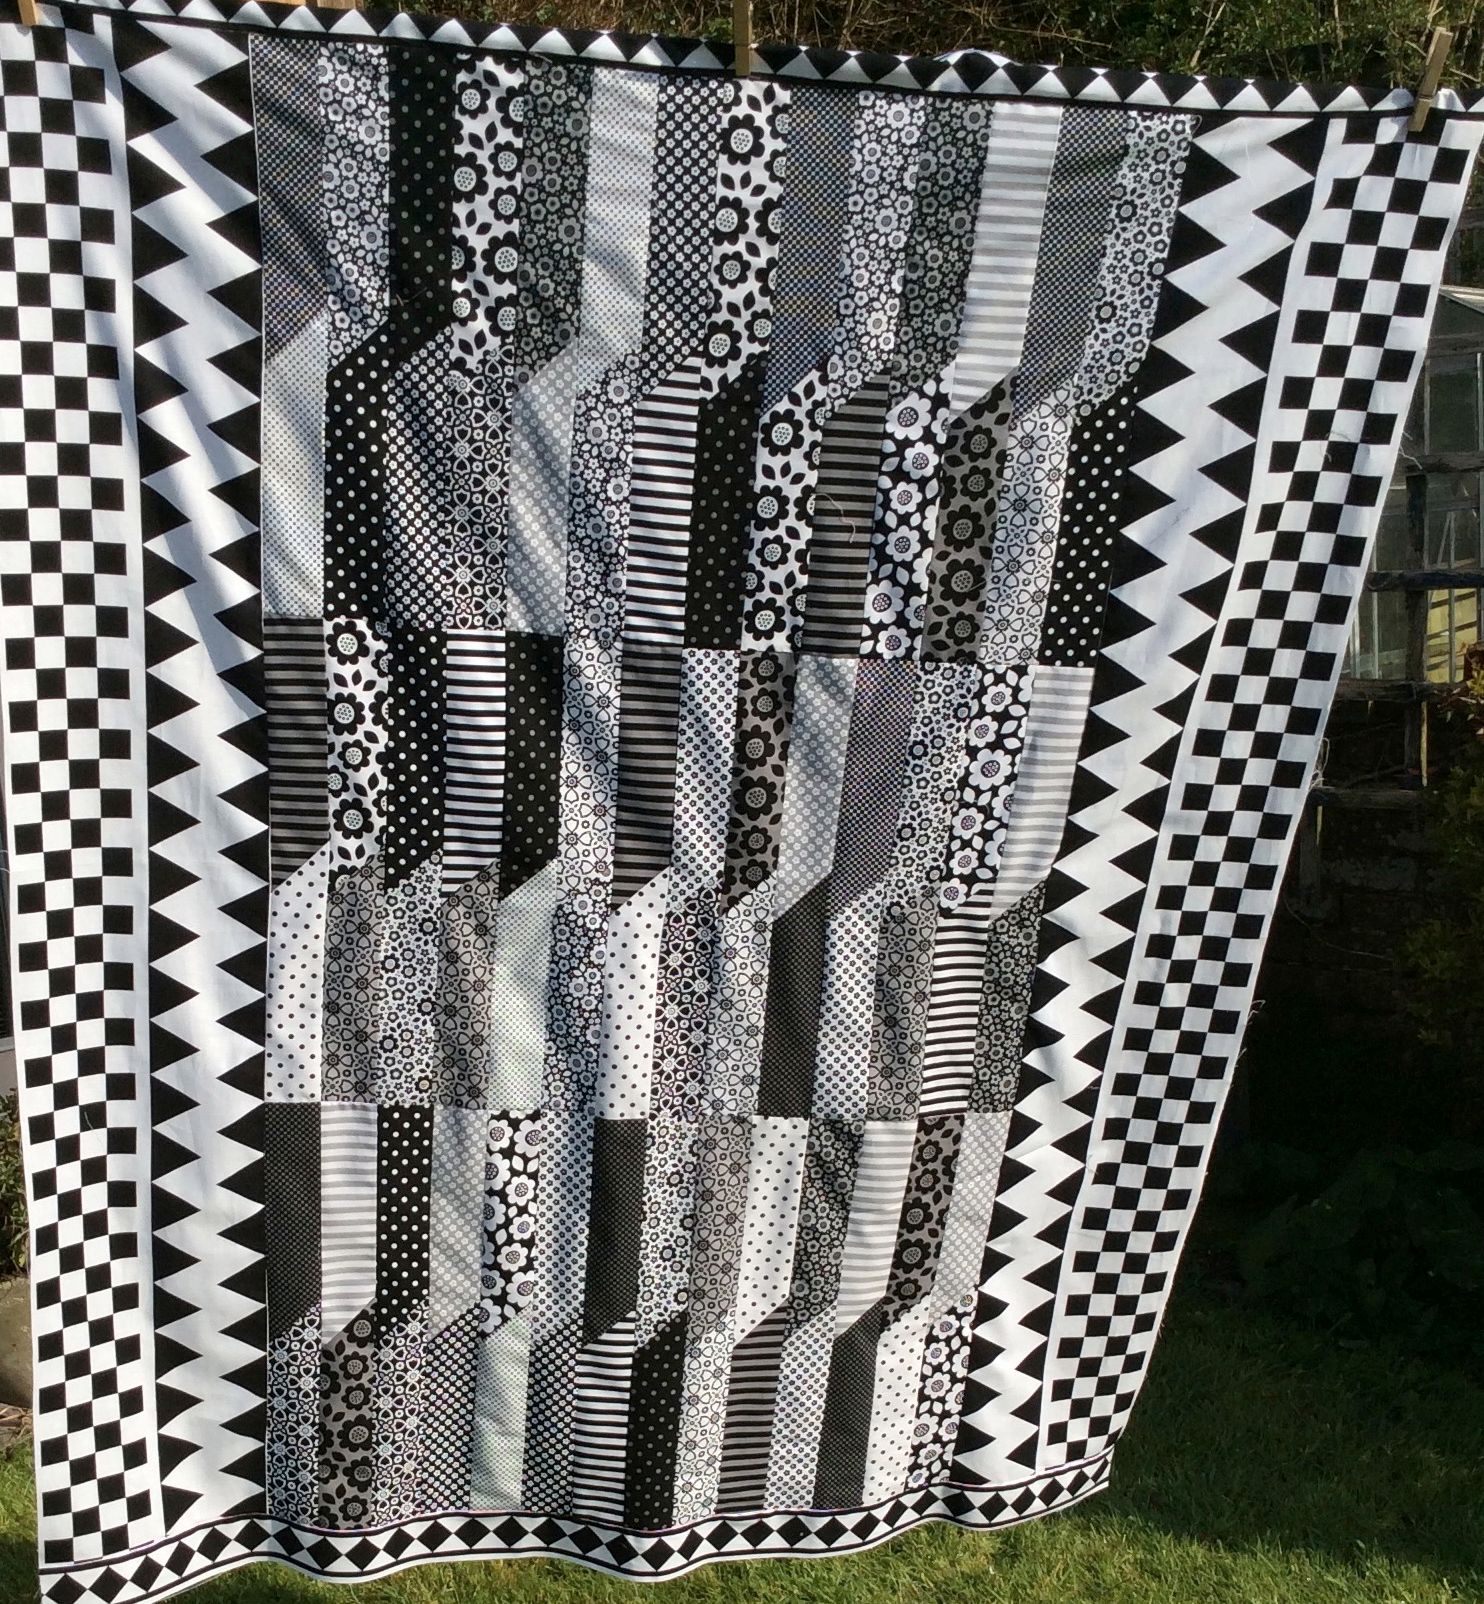
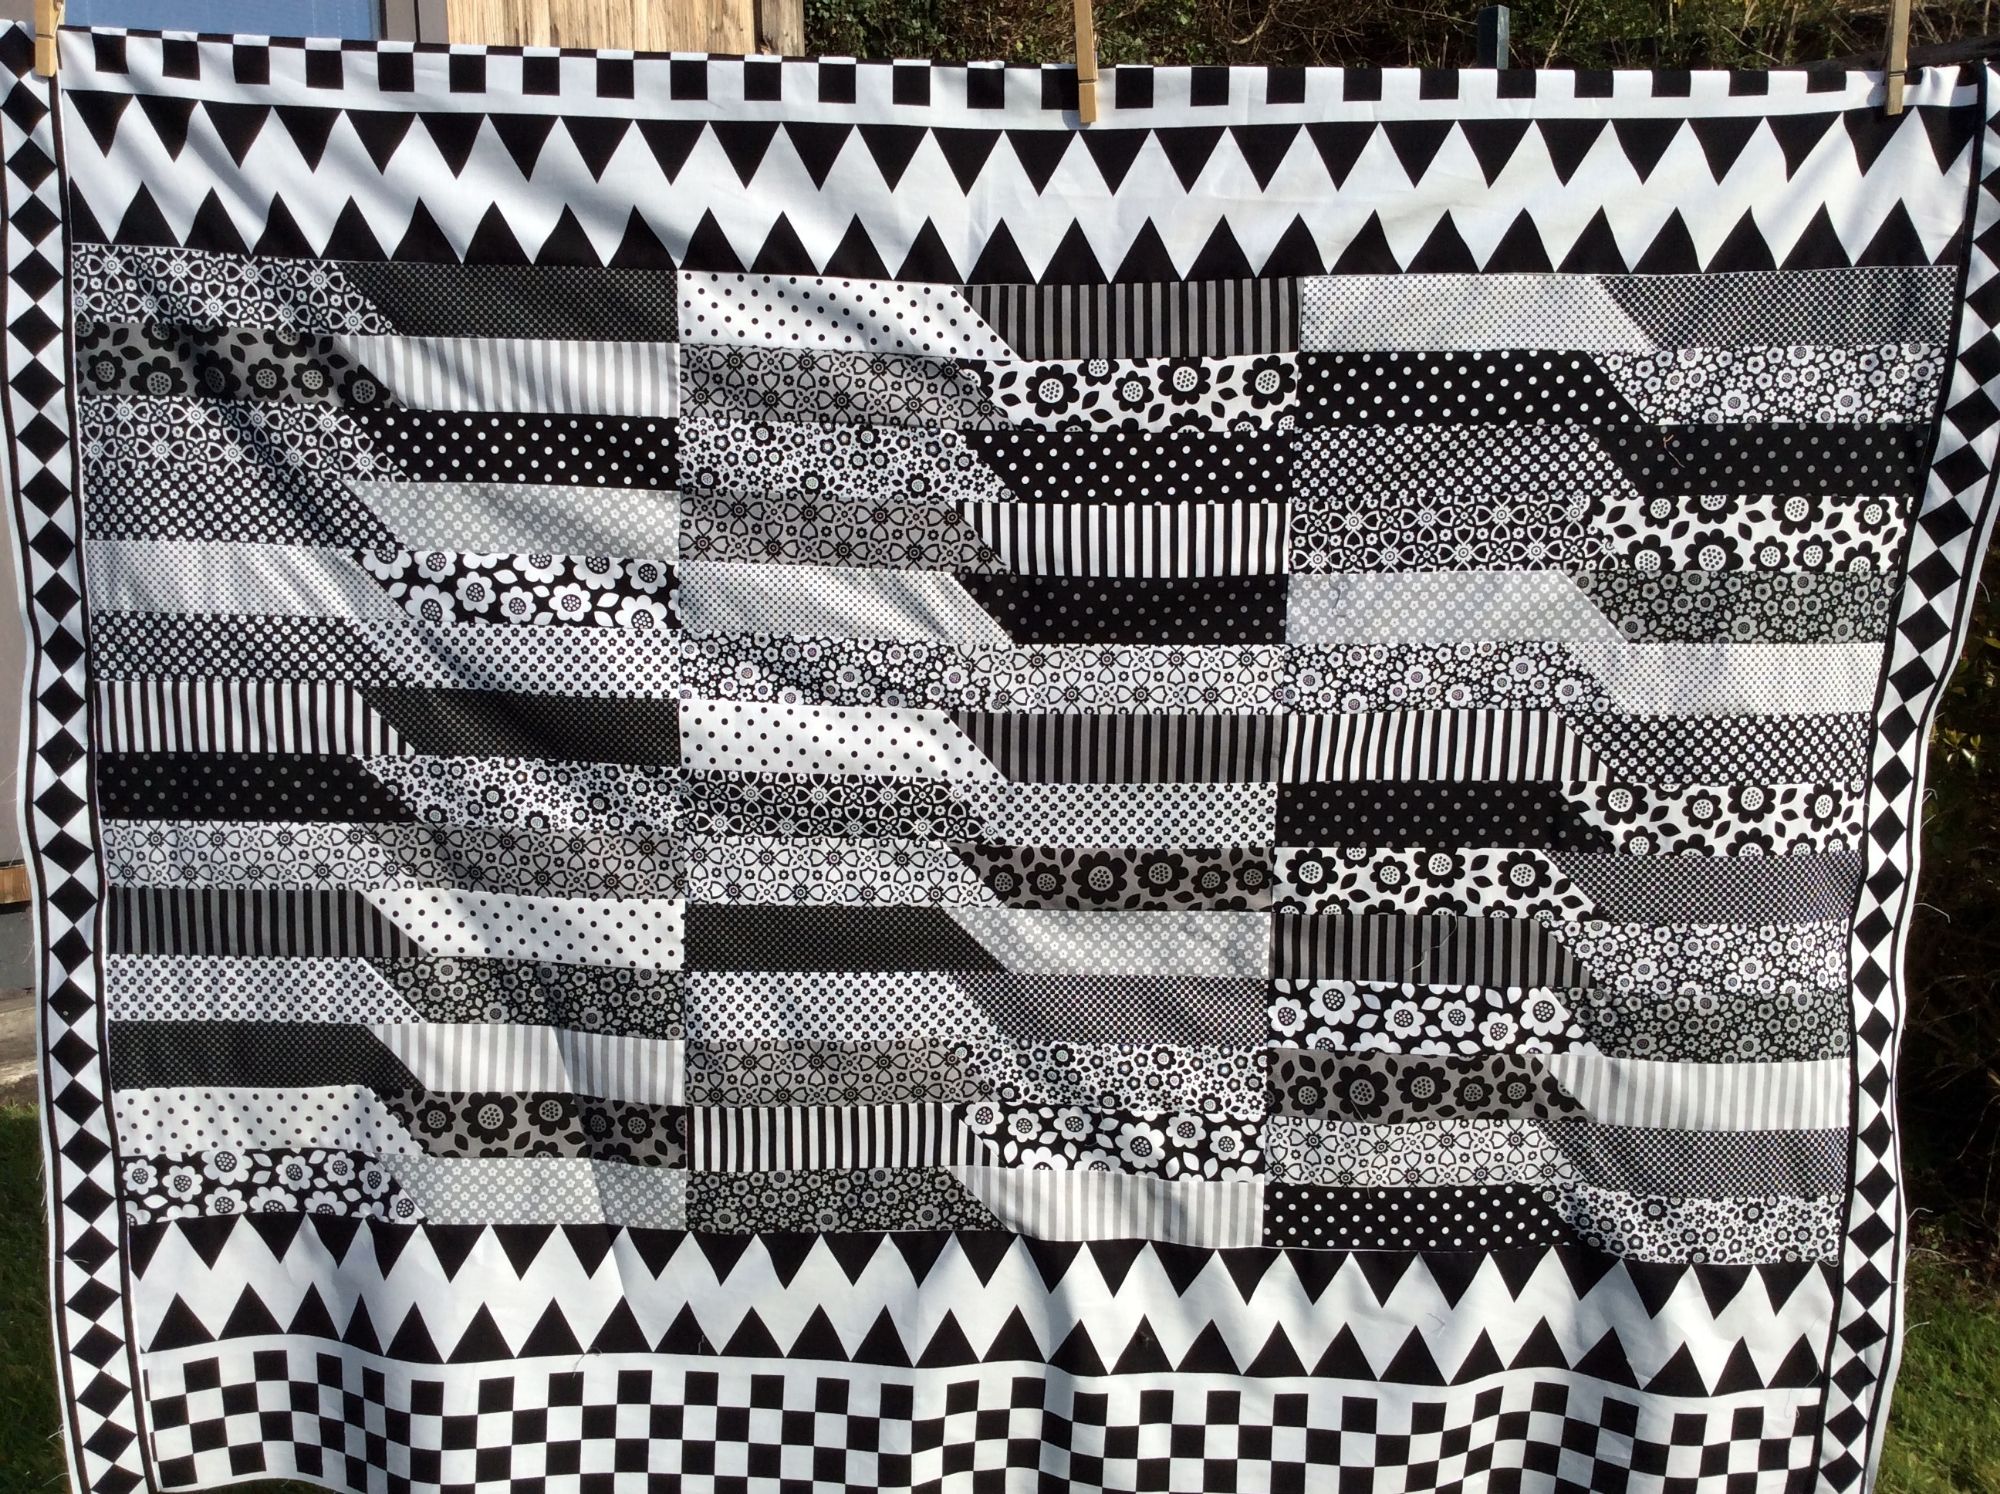
    Image 10

    Image 11IMG_5304


    IMG_5302If you have any queries about this blog please do contact me and I'll do my best to answer any questions.

    In the meantime I hope you've found this helpful, to a degree at least!

    Happy sewing.

    I would love to see photos of quilts made using this pattern. 

  2. A friend of mine who I used to work with many, many moons ago suggested that it might be worthwhile having a 'Beginner's Page'; a page that could include information about what kit would be needed for a beginner embarking on a journey into the world of quilting.  I gave this some thought and decided that before producing a shopping list of all the bits and bobs that could be purchased, it would be more fun to actually make a sample or taster quilt with very little 'kit' and which can be made, from start to finish in a matter of hours.  That way if a beginner likes what they've made, which I'm very much hoping they will, then it will be worthwhile buying some quilting essentials such as a rotary cutter, a cutting board, basting pins, etc. etc.   I'd far rather have people wanting to quilt than feeling resentful that they've spent money on equipment they are unlikely to use. 

    There are no borders on this quilt or any binding and no machine quilting is necessary.  It's a straightforward quilt and whilst it one is a small one exactly the same method can be used to make a much larger quilt.  This small quilt would be suitable as a pram quilt or pushchair quilt.  By using different fabric you could make a pet blanket or a wall hanging, whatever takes your fancy.

    This blog is aimed at the beginner, who has not made a patchwork before but has used a sewing machine.

    For the uninitiated, measurements often come in inches, so that is what I'll use in this blog.  The finished quilt using a Charm Pack measures W26.5" x L31"

    For the quilt you will need the following:

    The quilt top will need a Charm Pack containing 42 pieces of 5" x 5" fabric - charm packs are also known as 'charm squares'  or '5" stackers' to name a couple.   Just make sure that you have 42 pieces of 5" x 5" fabric.  Have a peek at the various Charm Pack options available in my shop.

    Wadding - otherwise known as batting - and is sandwiched between the quilt top and the backing fabric.  It's recommended that the wadding is at least 4" larger than the quilt top.  I would suggest having a piece of wadding that measures at least W31" x L35"

    Backing fabric - choose a fabric you like and which goes well with the colour  scheme on your charm pack.  I would recommend using cotton fabric.  The backing fabric should be the same size as the wadding, so at least W31" x L35"

    Thick cotton thread to 'quilt' your patchwork.  The quilting part is when you sew the layers together.

    In addition to the above you'll need the following, which I'm hoping you will have already have:

    Sewing machine, cotton thread, scissors, pins and sadly an unpicker, which hopefully won't be needed but better to have it ready just in case.  A new needle on your machine is recommended.

    Image 9

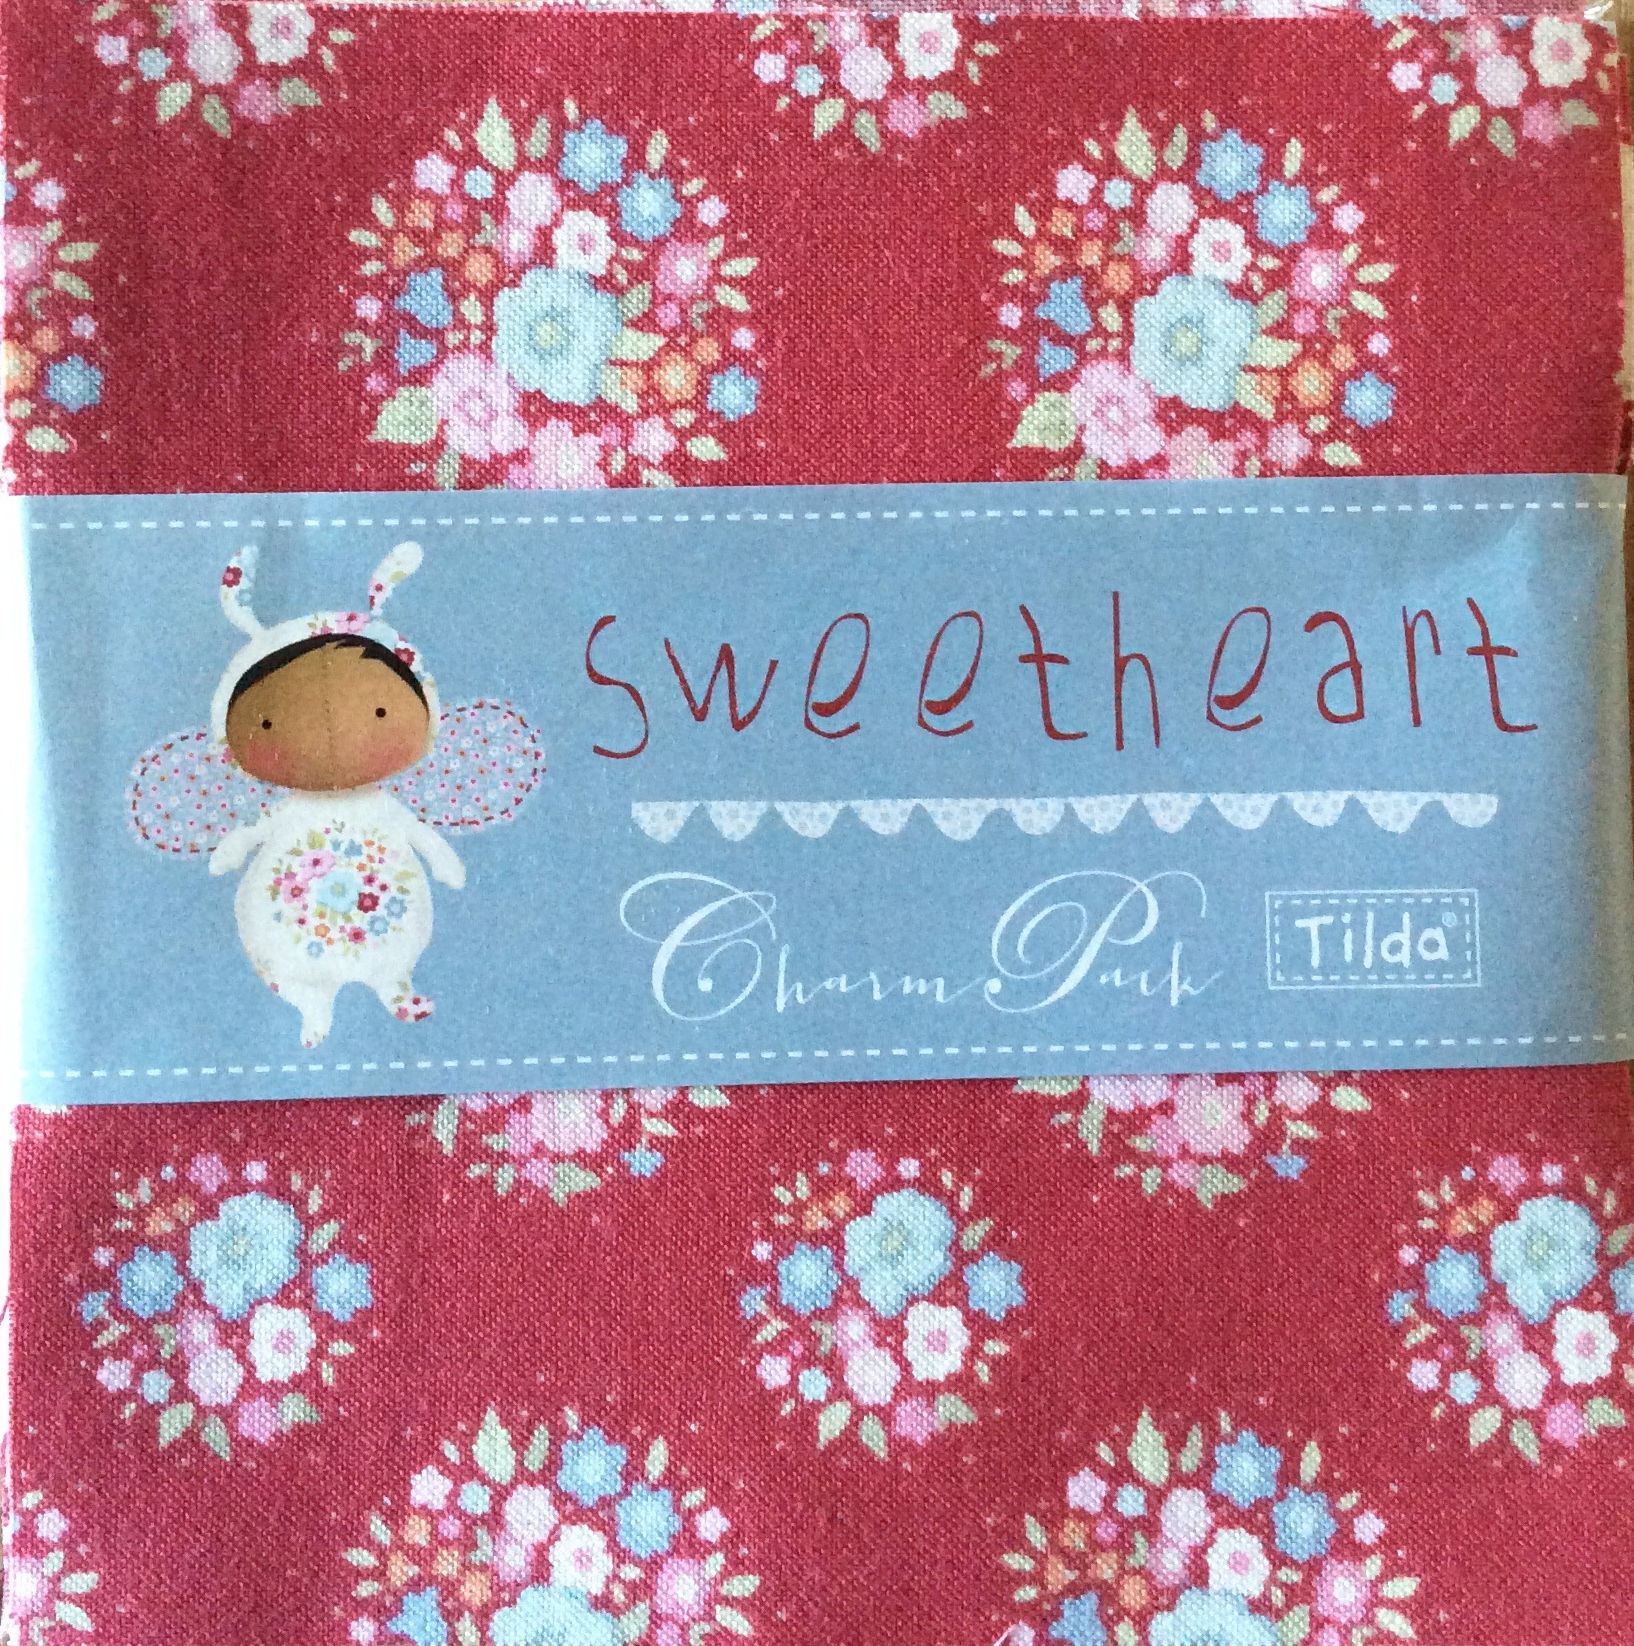
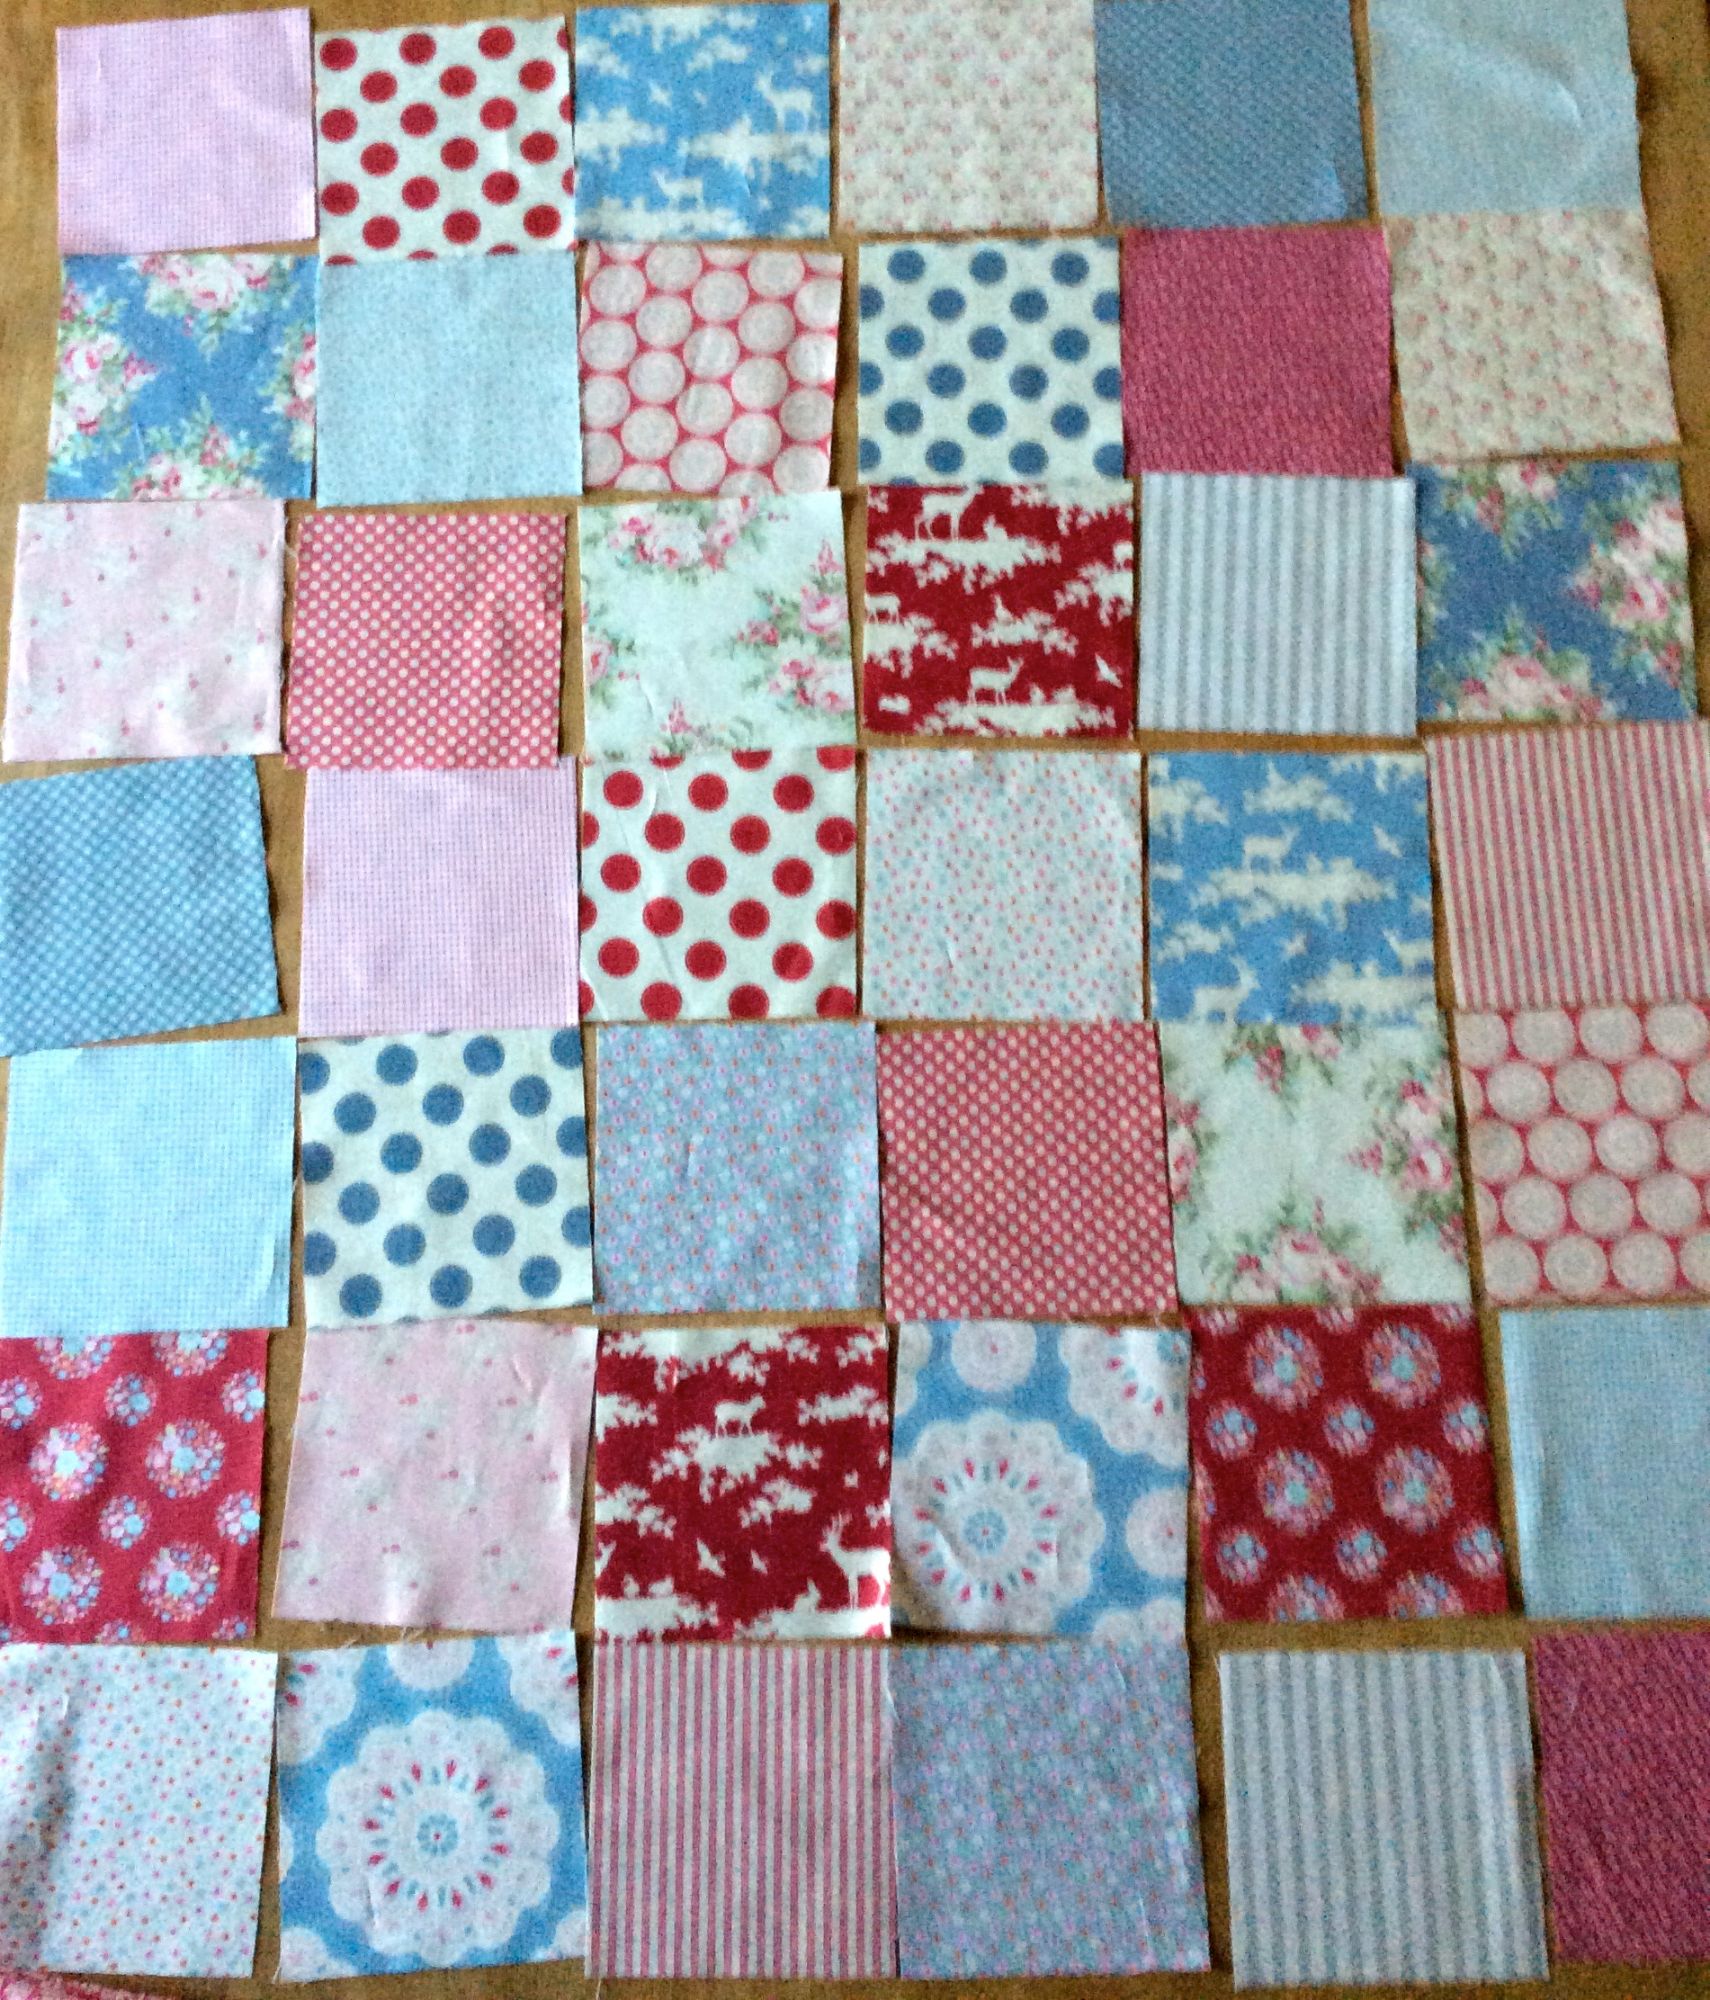
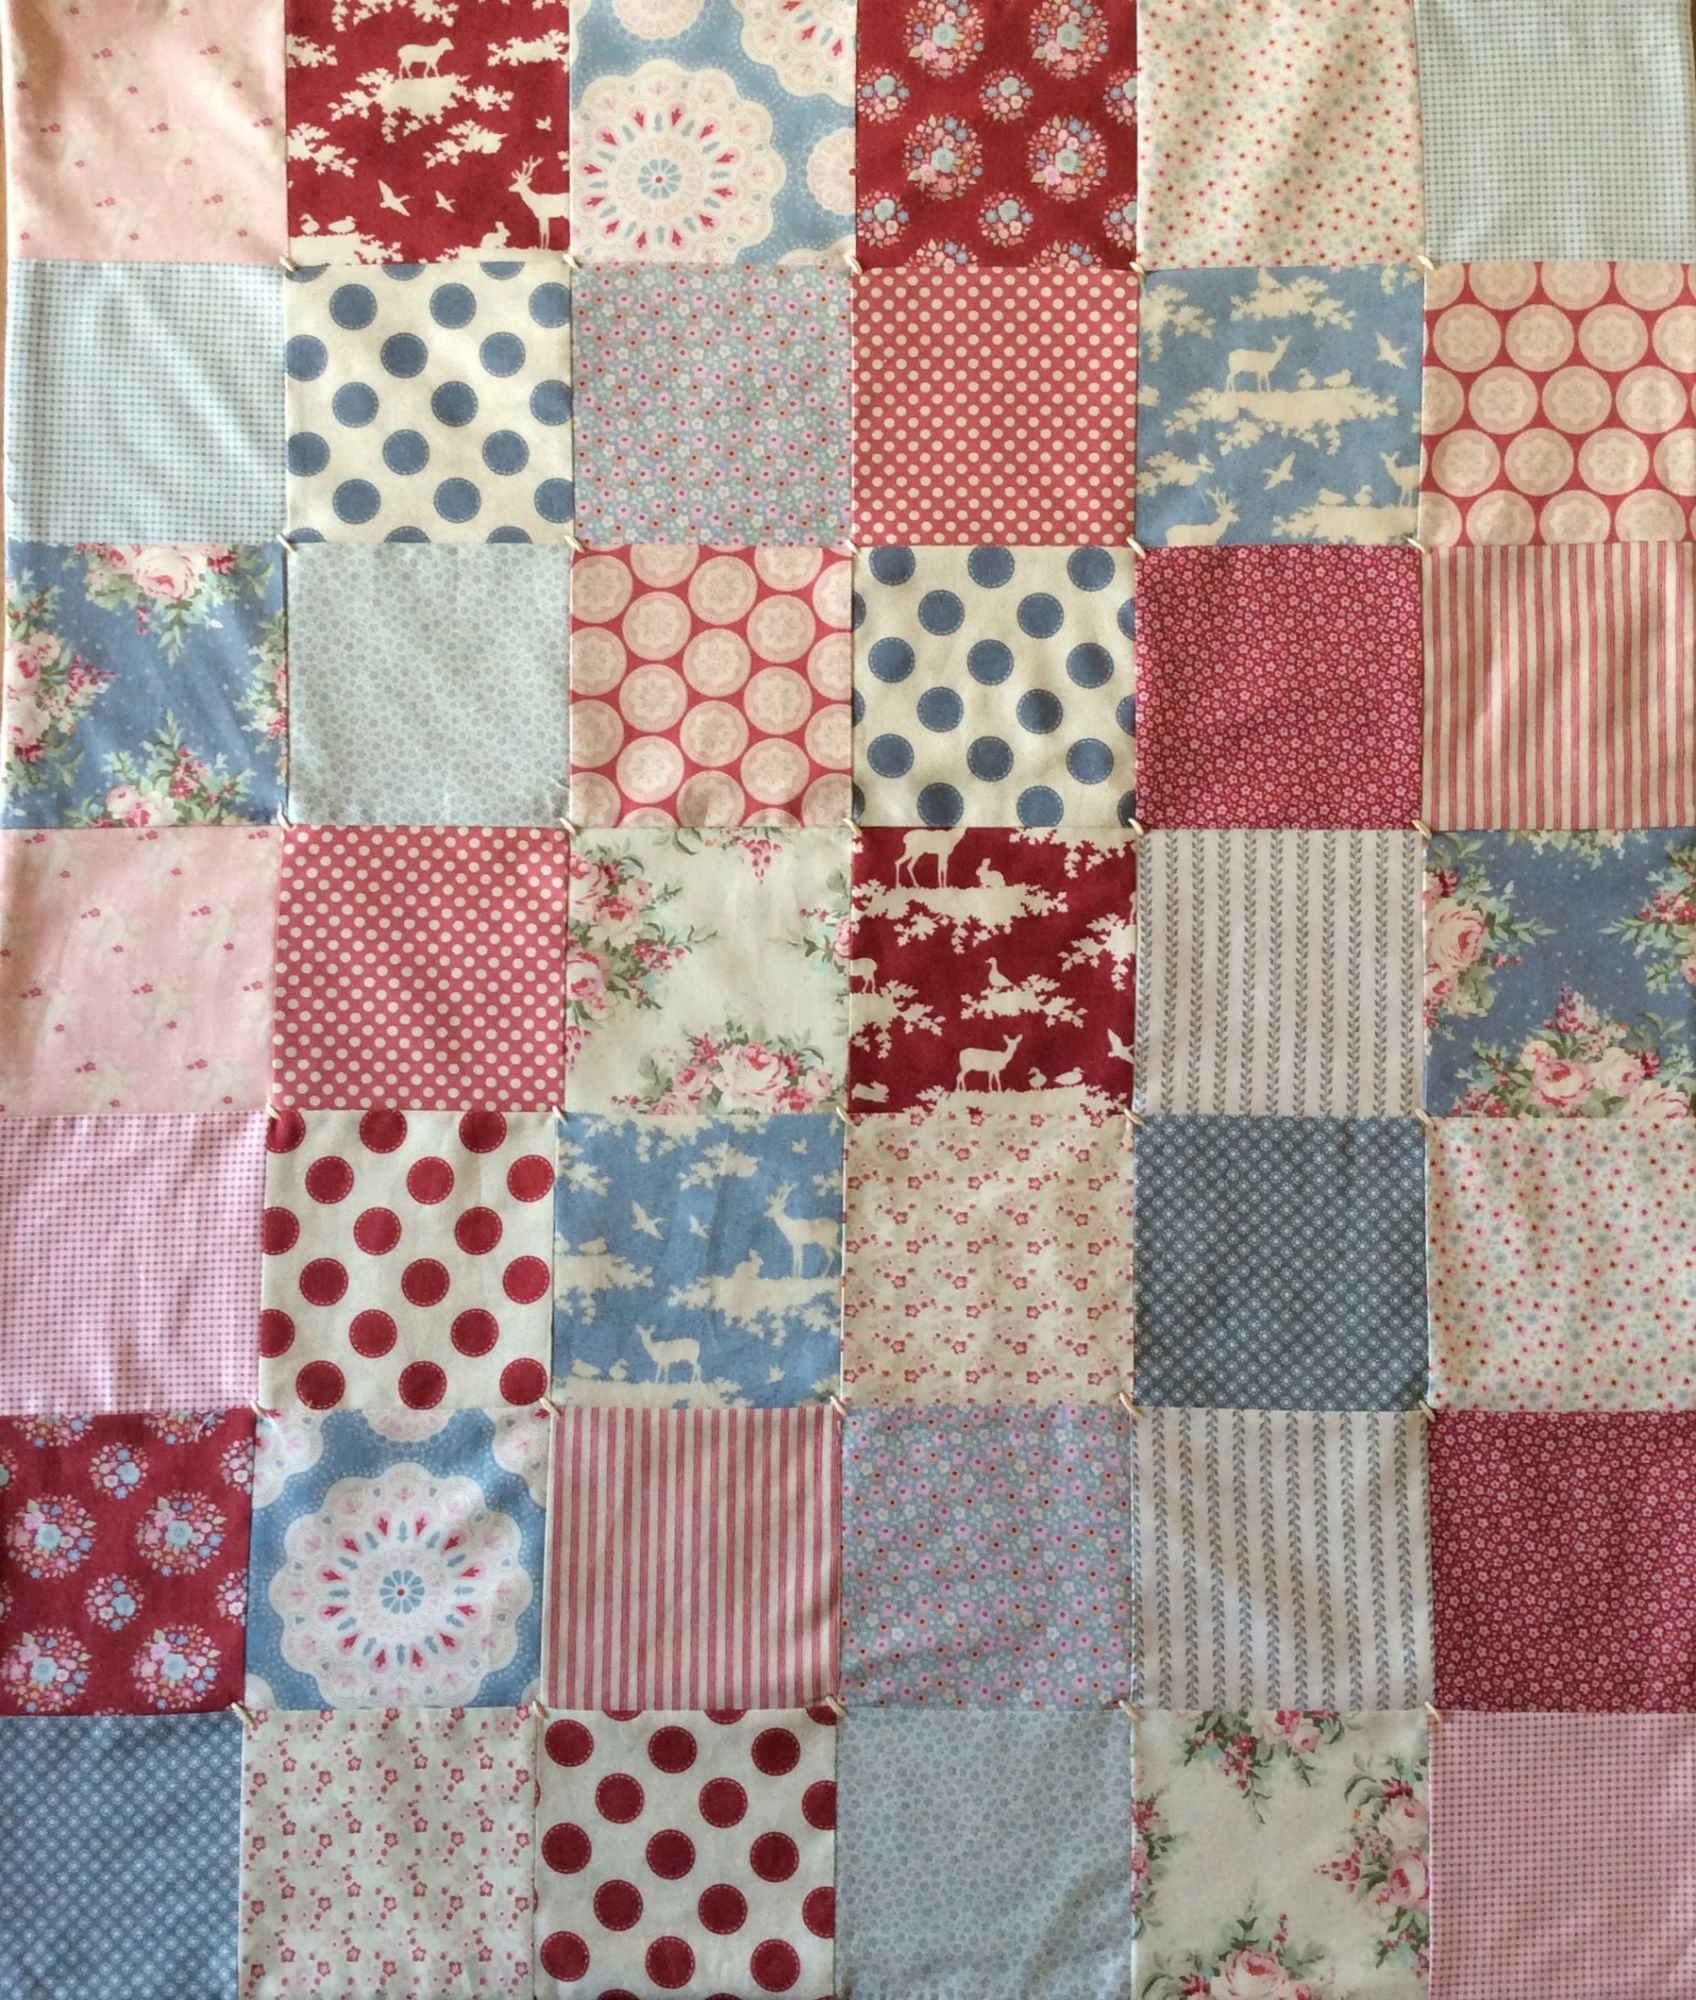
    I used a Tilda Charm Pack called Sweetheart.  Choose a Charm Pack that you like the look of and then lay the pieces out in 7 rows of 6.  It's worth taking your time to make sure that you're happy with the layout.  There are no strict rules about layout and it's a matter of personal preference.  I try, not always successfully, to have some contrast, so lights and darks next to each other.  Play around and see what happens.  I often photograph various layouts before deciding which I prefer. Once you've decided on the layout then you can begin sewing.

    Image 7

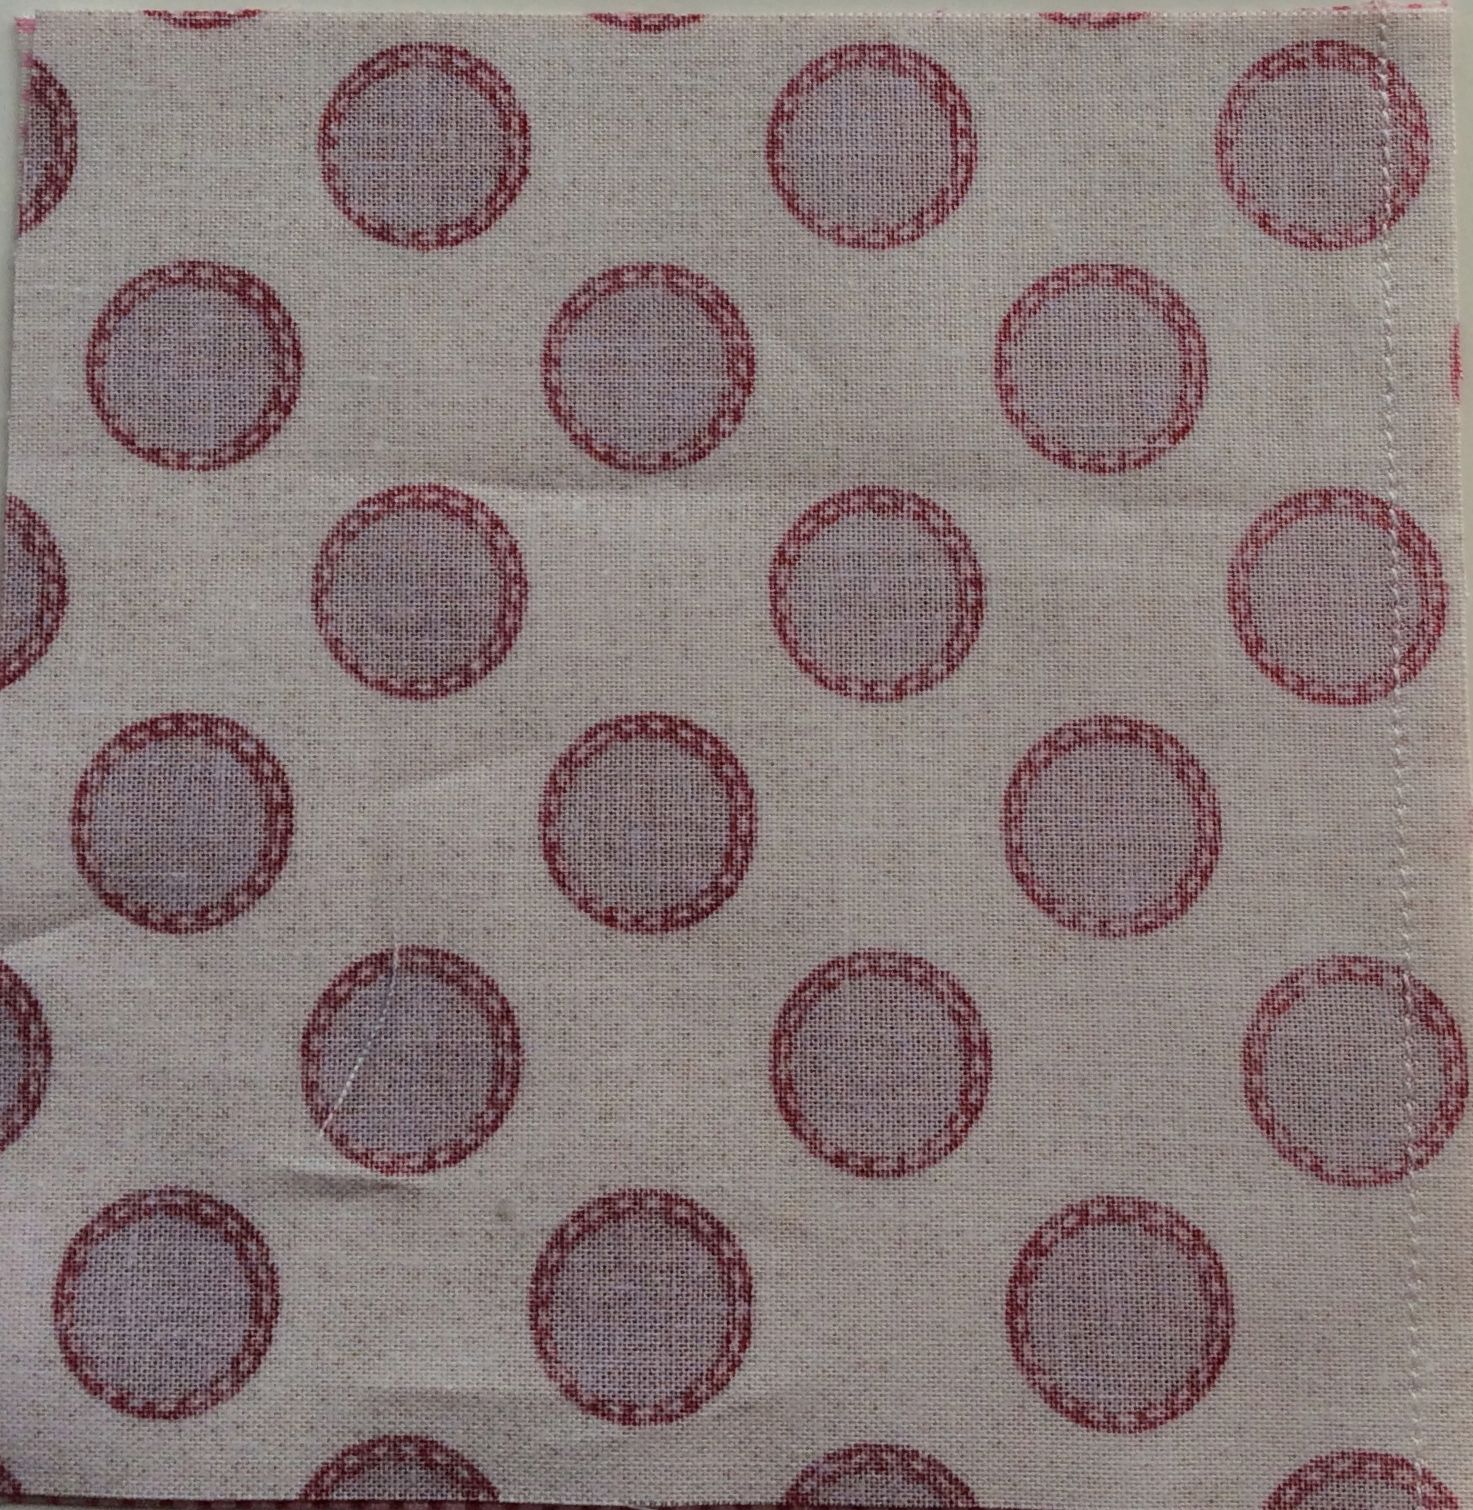
    Quilters use a quarter inch (1/4") seam allowance and you should aim to make your seams as accurate as you can.   If you haven't sewn a 1/4" seam before, use the needle plate of your machine as a guide.  Sew the first row, taking the first two pieces (right sides together), add the next piece on and repeat until you've finished the first row.  Check that you're happy with the seam allowance so that the seams match when you starting sewing the rows together.  If the seam allowances vary it's time for the unpicker!  Once you've sewn all seven rows, press the seams.  The seams in each row ought to be pressed in opposite directions, so press the first row with the seams going in one direction and press the next row in the other direction.  All will become clear below.

    Image 12

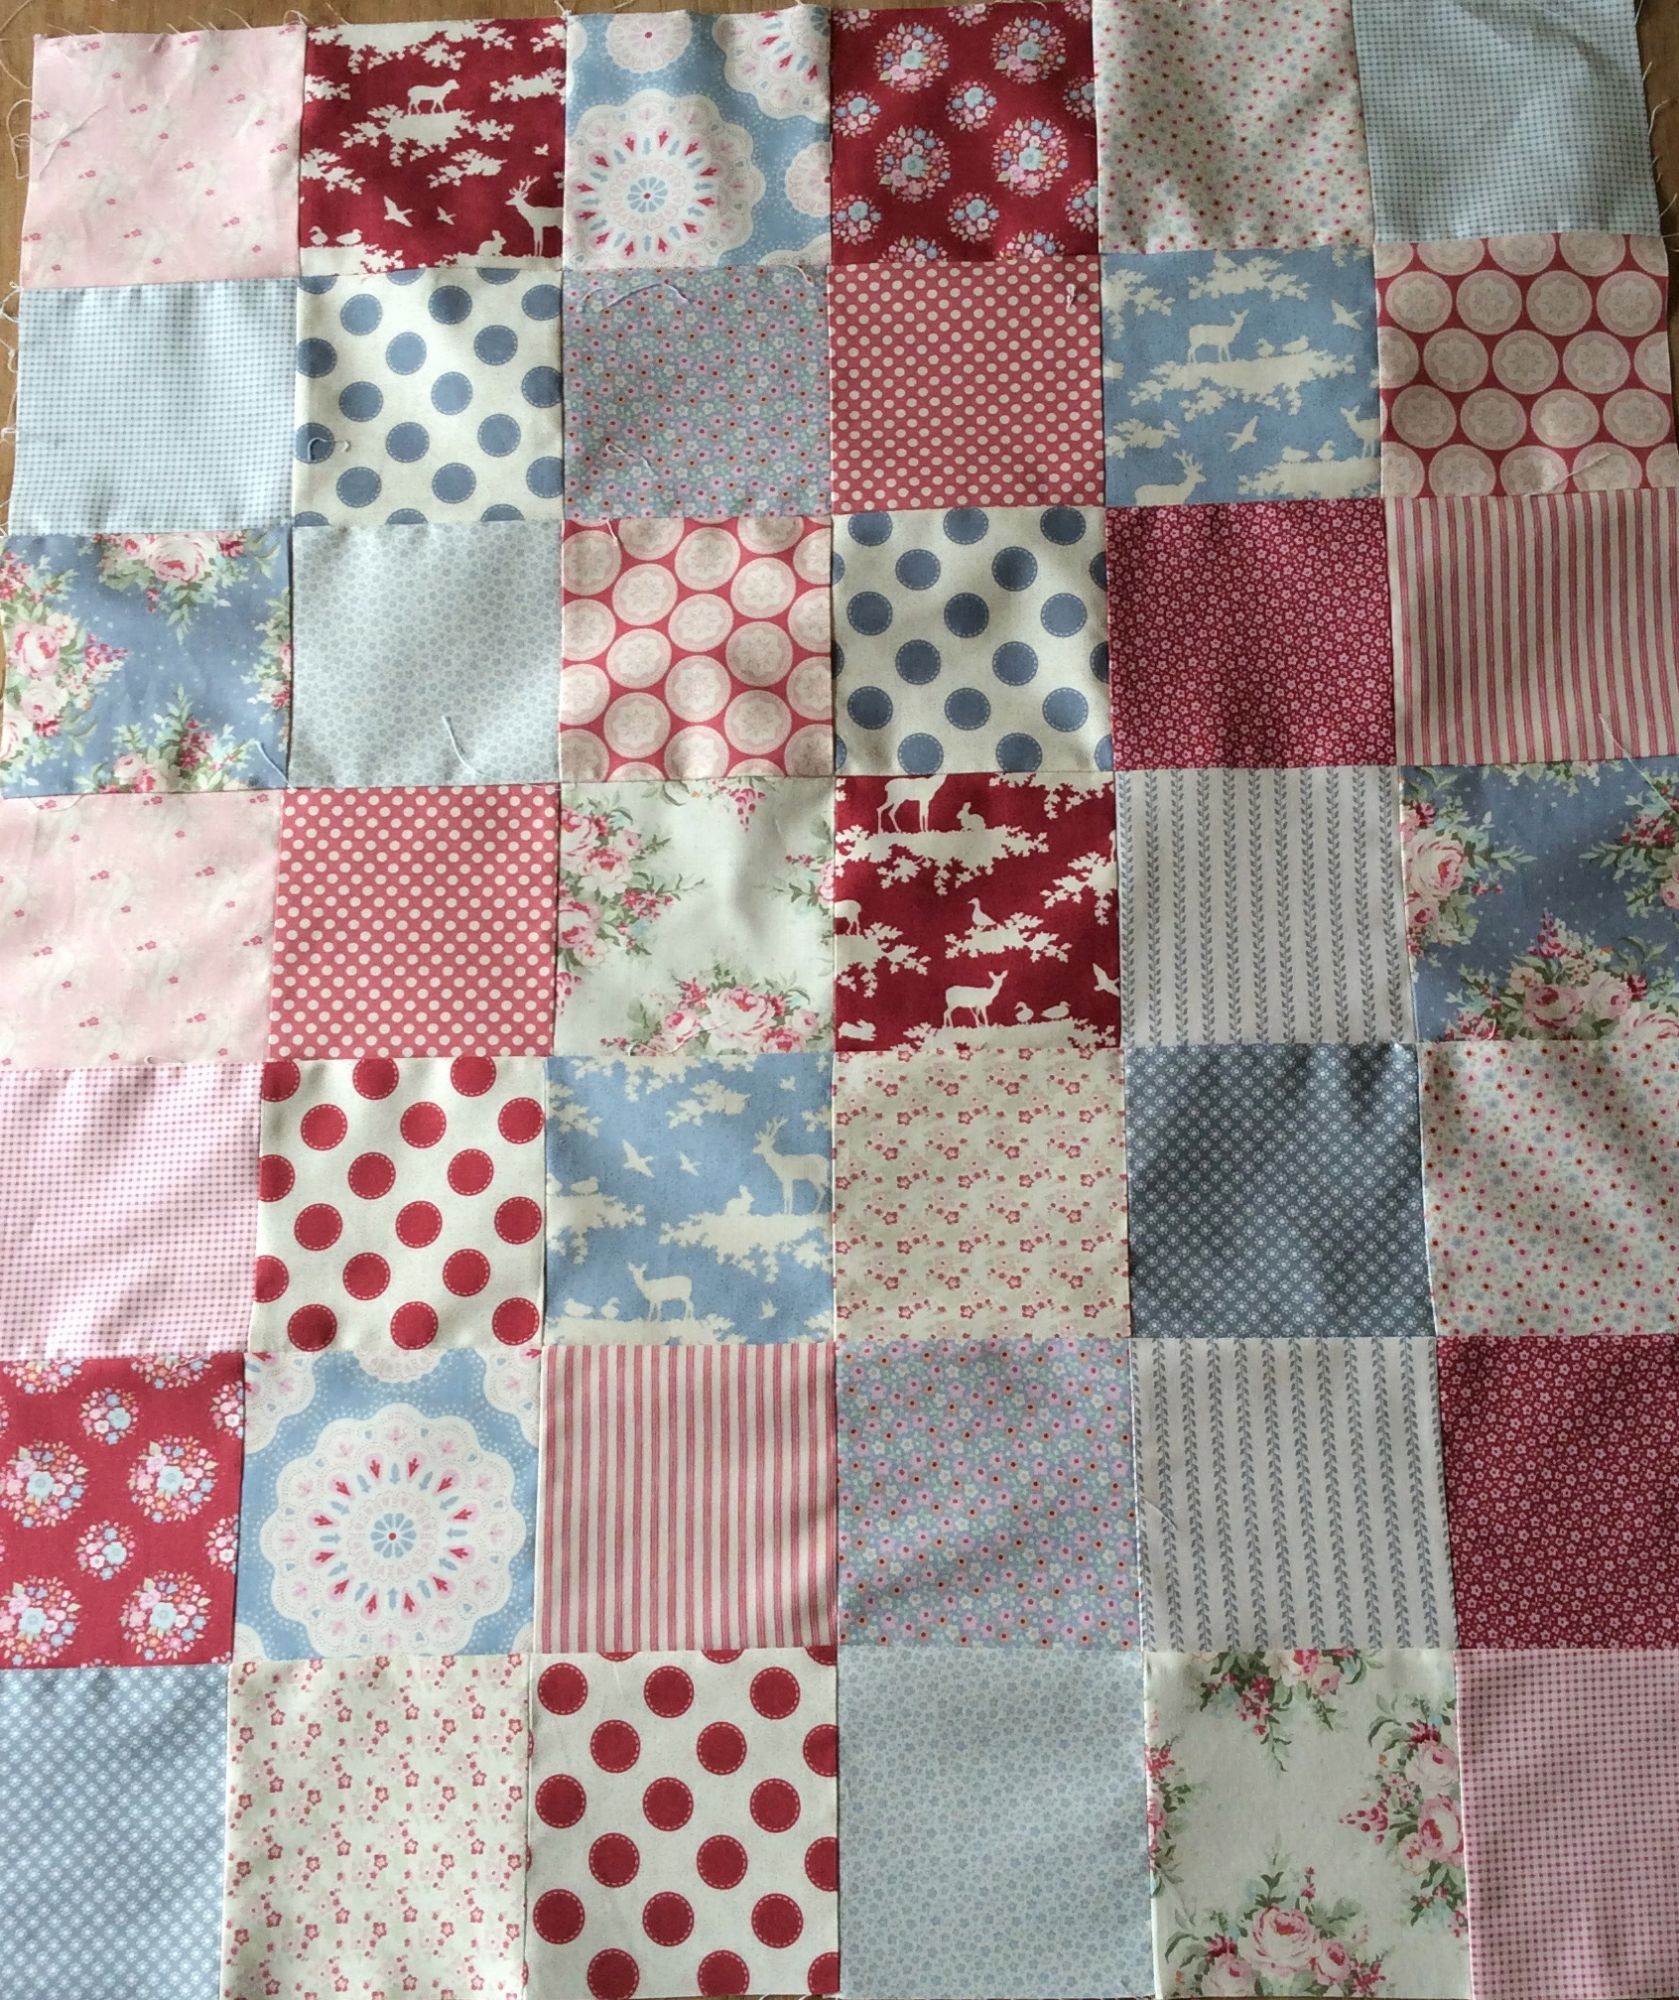
    The rows now need to be sewn together.  Taking the first two rows, place the fabric right sides together.  Have a look at the seams, which should be pointing in opposite directions and you should be able to nestle the seams together with your fingers.  Check that the seams are all lined up along the two rows before you start sewing.  If the seams aren't lined up properly you'll probably be unpicking later on.  You can use pins to hold the fabric in place   I tend to sew pin free but others like to use them.  There's no right or wrong way, so whatever you feel most comfortable doing.  Just remember to remove any pins before sewing that section.  Hopefully all seven rows are now sewn.  You will notice that the quilt top has shrunk somewhat. 

    Image 13

    Before doing any more sewing, you need to press the quilt top as well as the backing fabric.  You want the fabric to be crease free and smooth. 

    Image 18

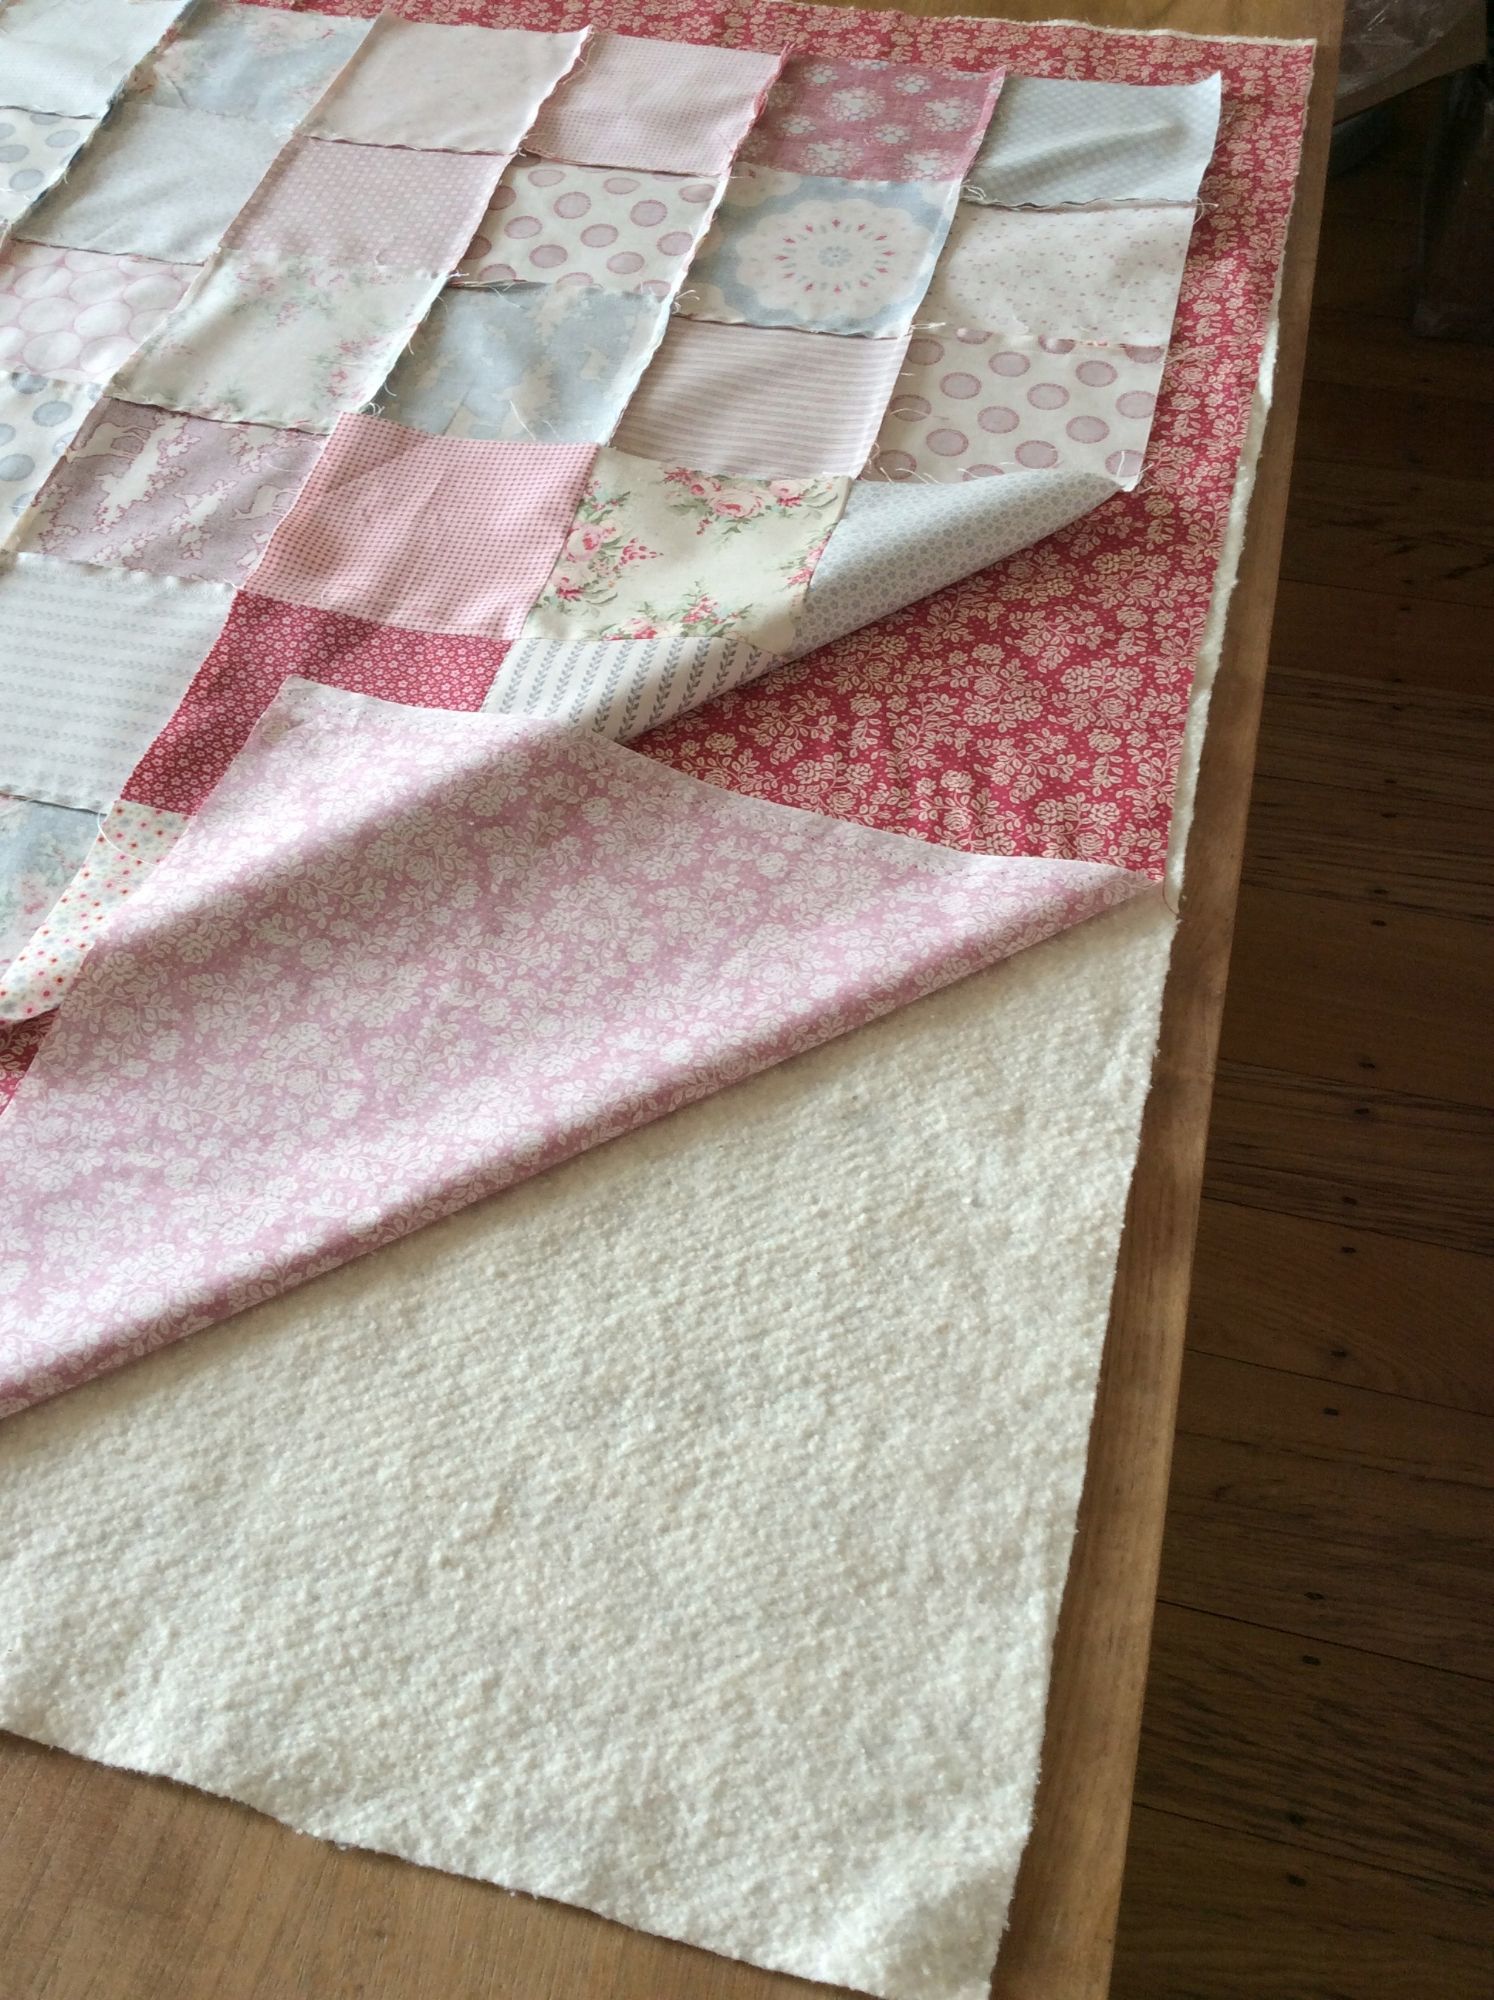
    Place the wadding down first making sure that it's smooth.  Next, place the backing fabric on top of the wadding so that the 'wrong side' is against the wadding and the 'right side' is facing up.  Take time to make sure that the fabric is smooth.  Then place the quilt top on in the middle of the backing fabric, face down, so the quilt top and backing fabric are right sides together.  Don't be tempted to put the quilt top against the edges of the backing fabric and wadding.  You should be able to see the backing fabric all the way around.  Again smooth the fabric.  You'll be surprised how much the fabric moves.  Only when the fabric is smooth pin the edges, smoothing all the time.  It may be necessary to repin as you go.   At this stage you need to leave a gap of about 6"- 8" on one edge where you will not be sewing, as you will need a gap so that you can turn the fabric inside out later.  The gap needs to be big enough for you to gently tease the fabric through, when the time comes.  You can mark the gap with pins.  The gap I used was 5”, which was manageable, but I would suggest a slightly larger gap if you have not used this technique before. 

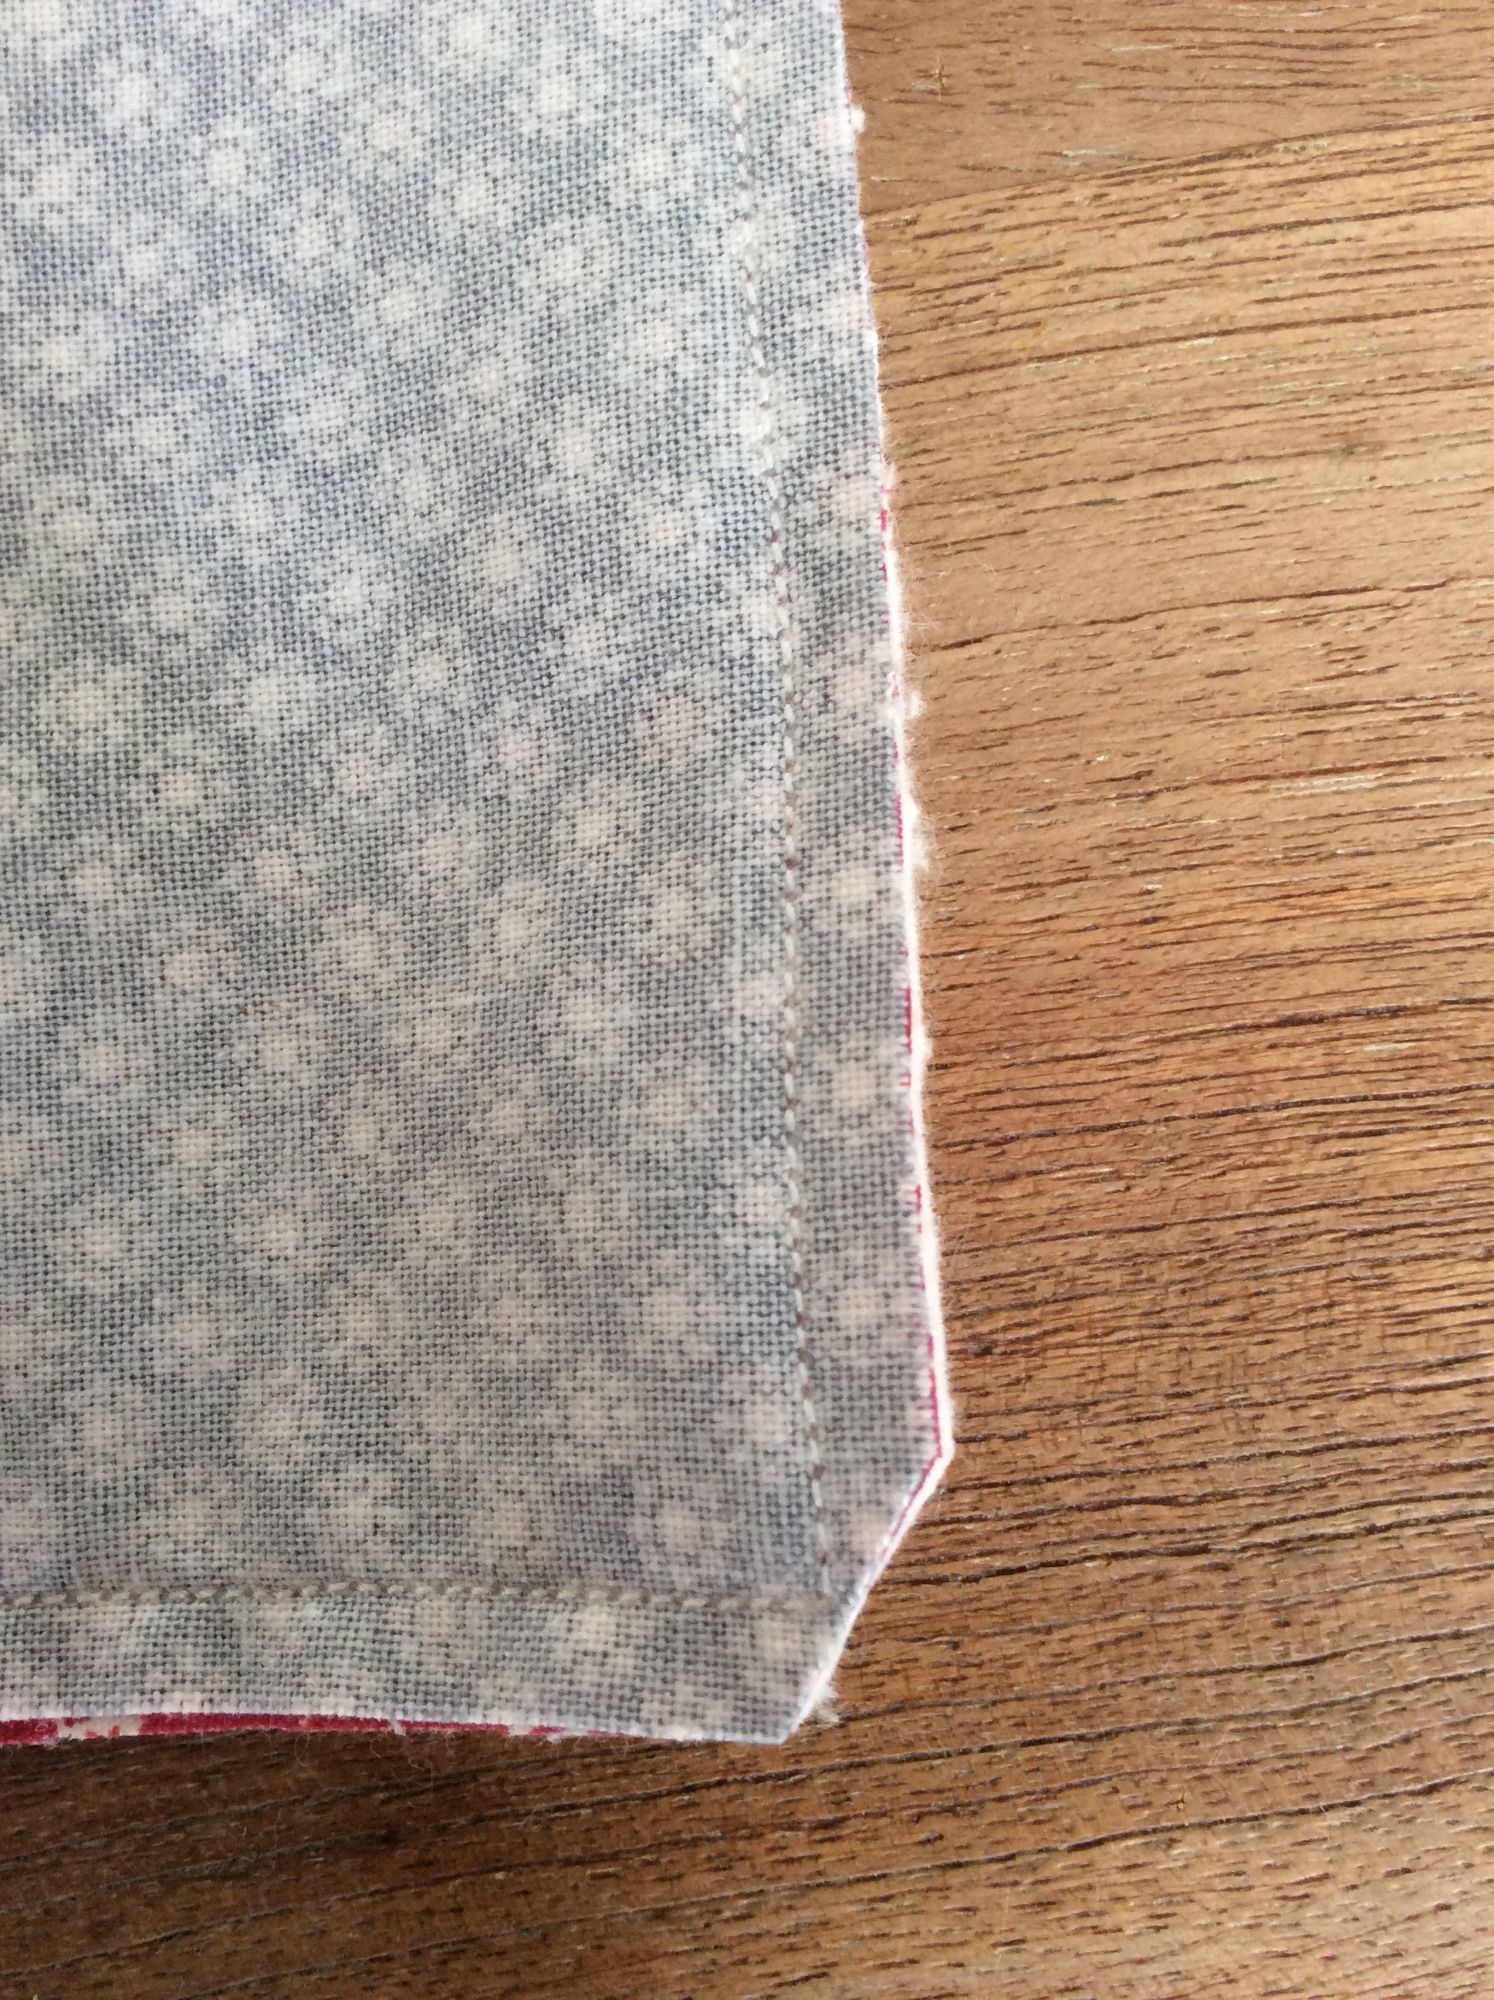
    Now you can start sewing again, using a 1/4" allowance all the way around except for the 6" - 8" gap.  Trim the excess backing fabric and wadding.  You can do this with a pair of scissors and use the edge of the quilt top as your guide.  If you are feeling confident carefully trim the corners off, making sure you don't cut beyond the stitching.  This allows you to have neater corners once the fabric is turned inside out.

    Image 17

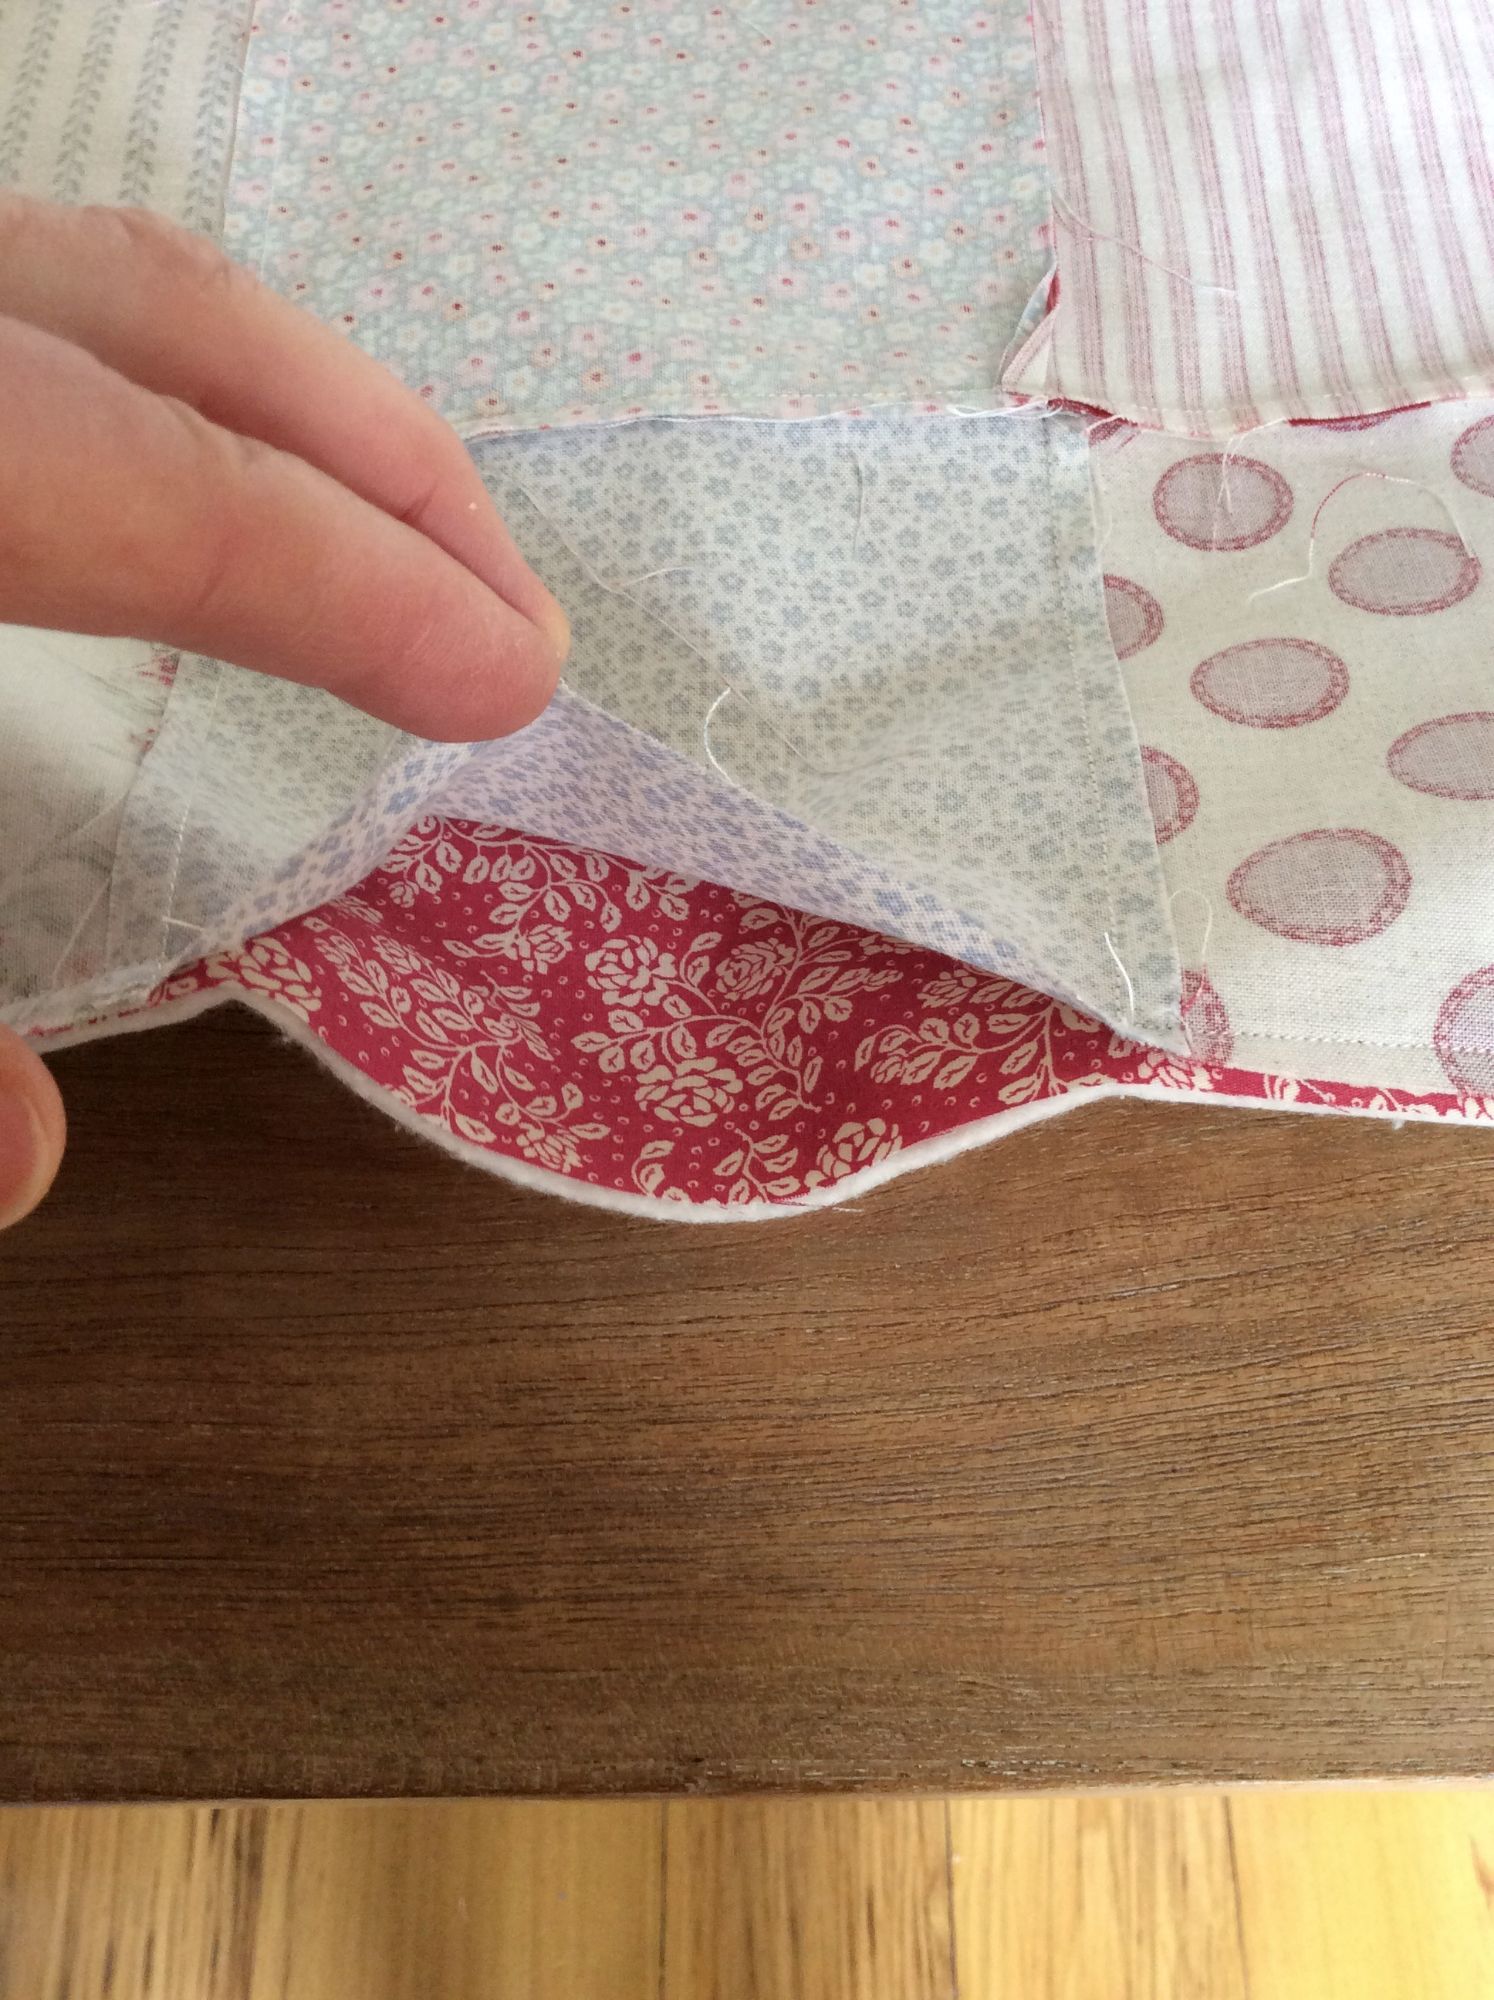
    Next, you need to carefully turn the fabric inside out, pulling the fabric gently through the 6"-8" hole that you should have left for this purpose (see the picture below).  With a little bit of wriggling this can be done fairly easily, just take your time.  Use your finger or your unpicker (with the lid on) to push the corner sections out.

    Image 20

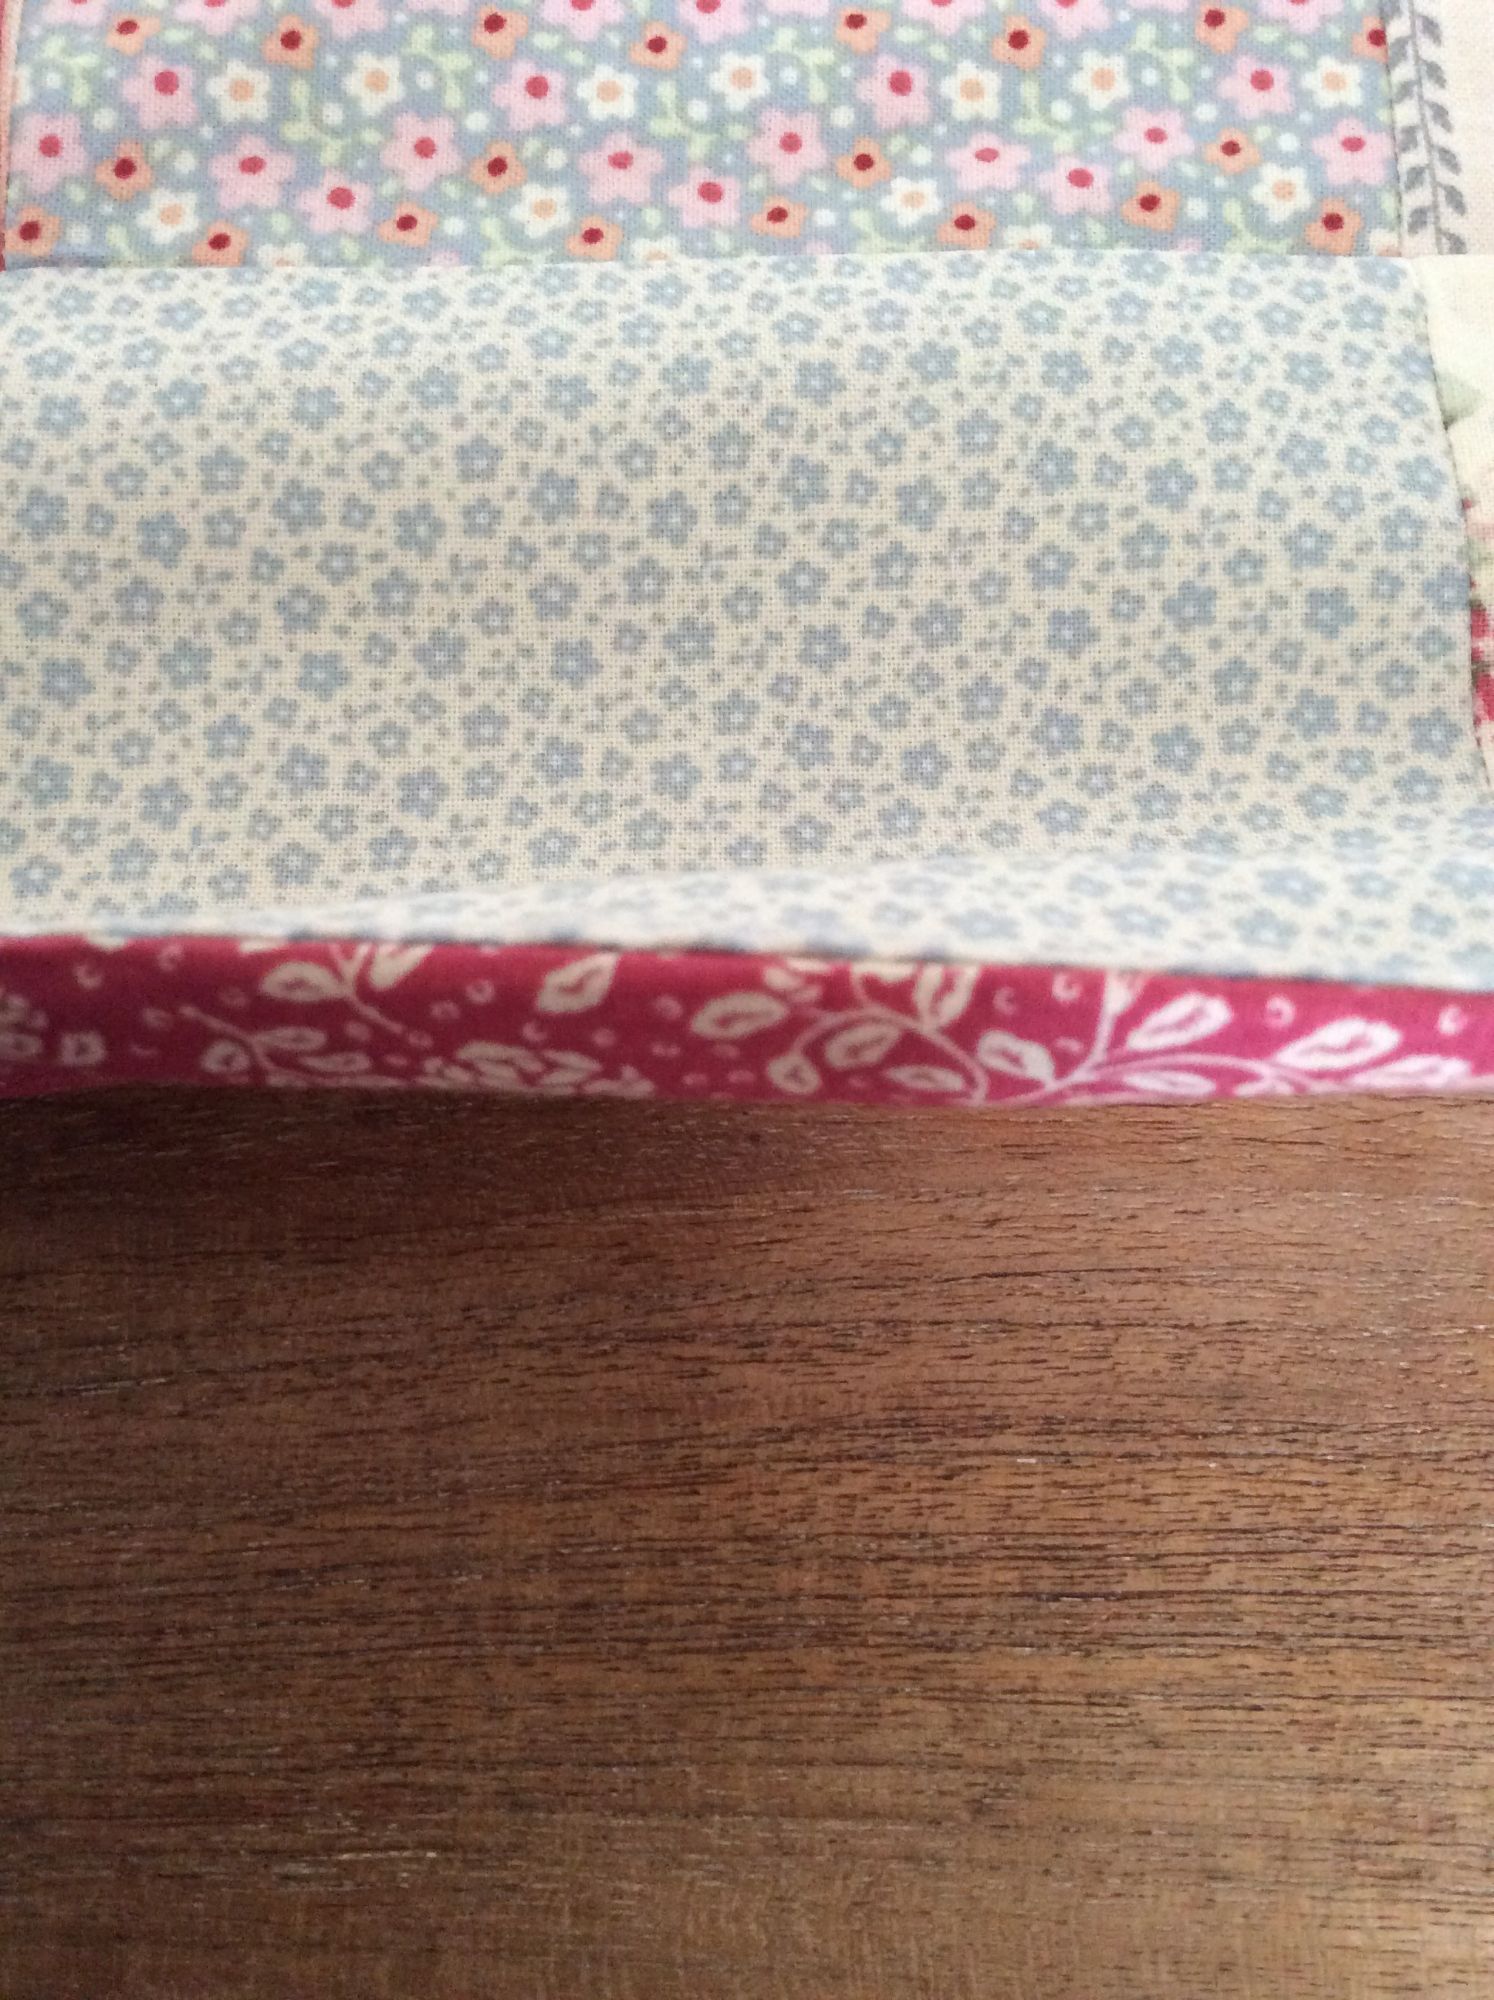
    Press the quilt top once more and then using your best hand stitching, close the gap.

    Image 19


    Image 16

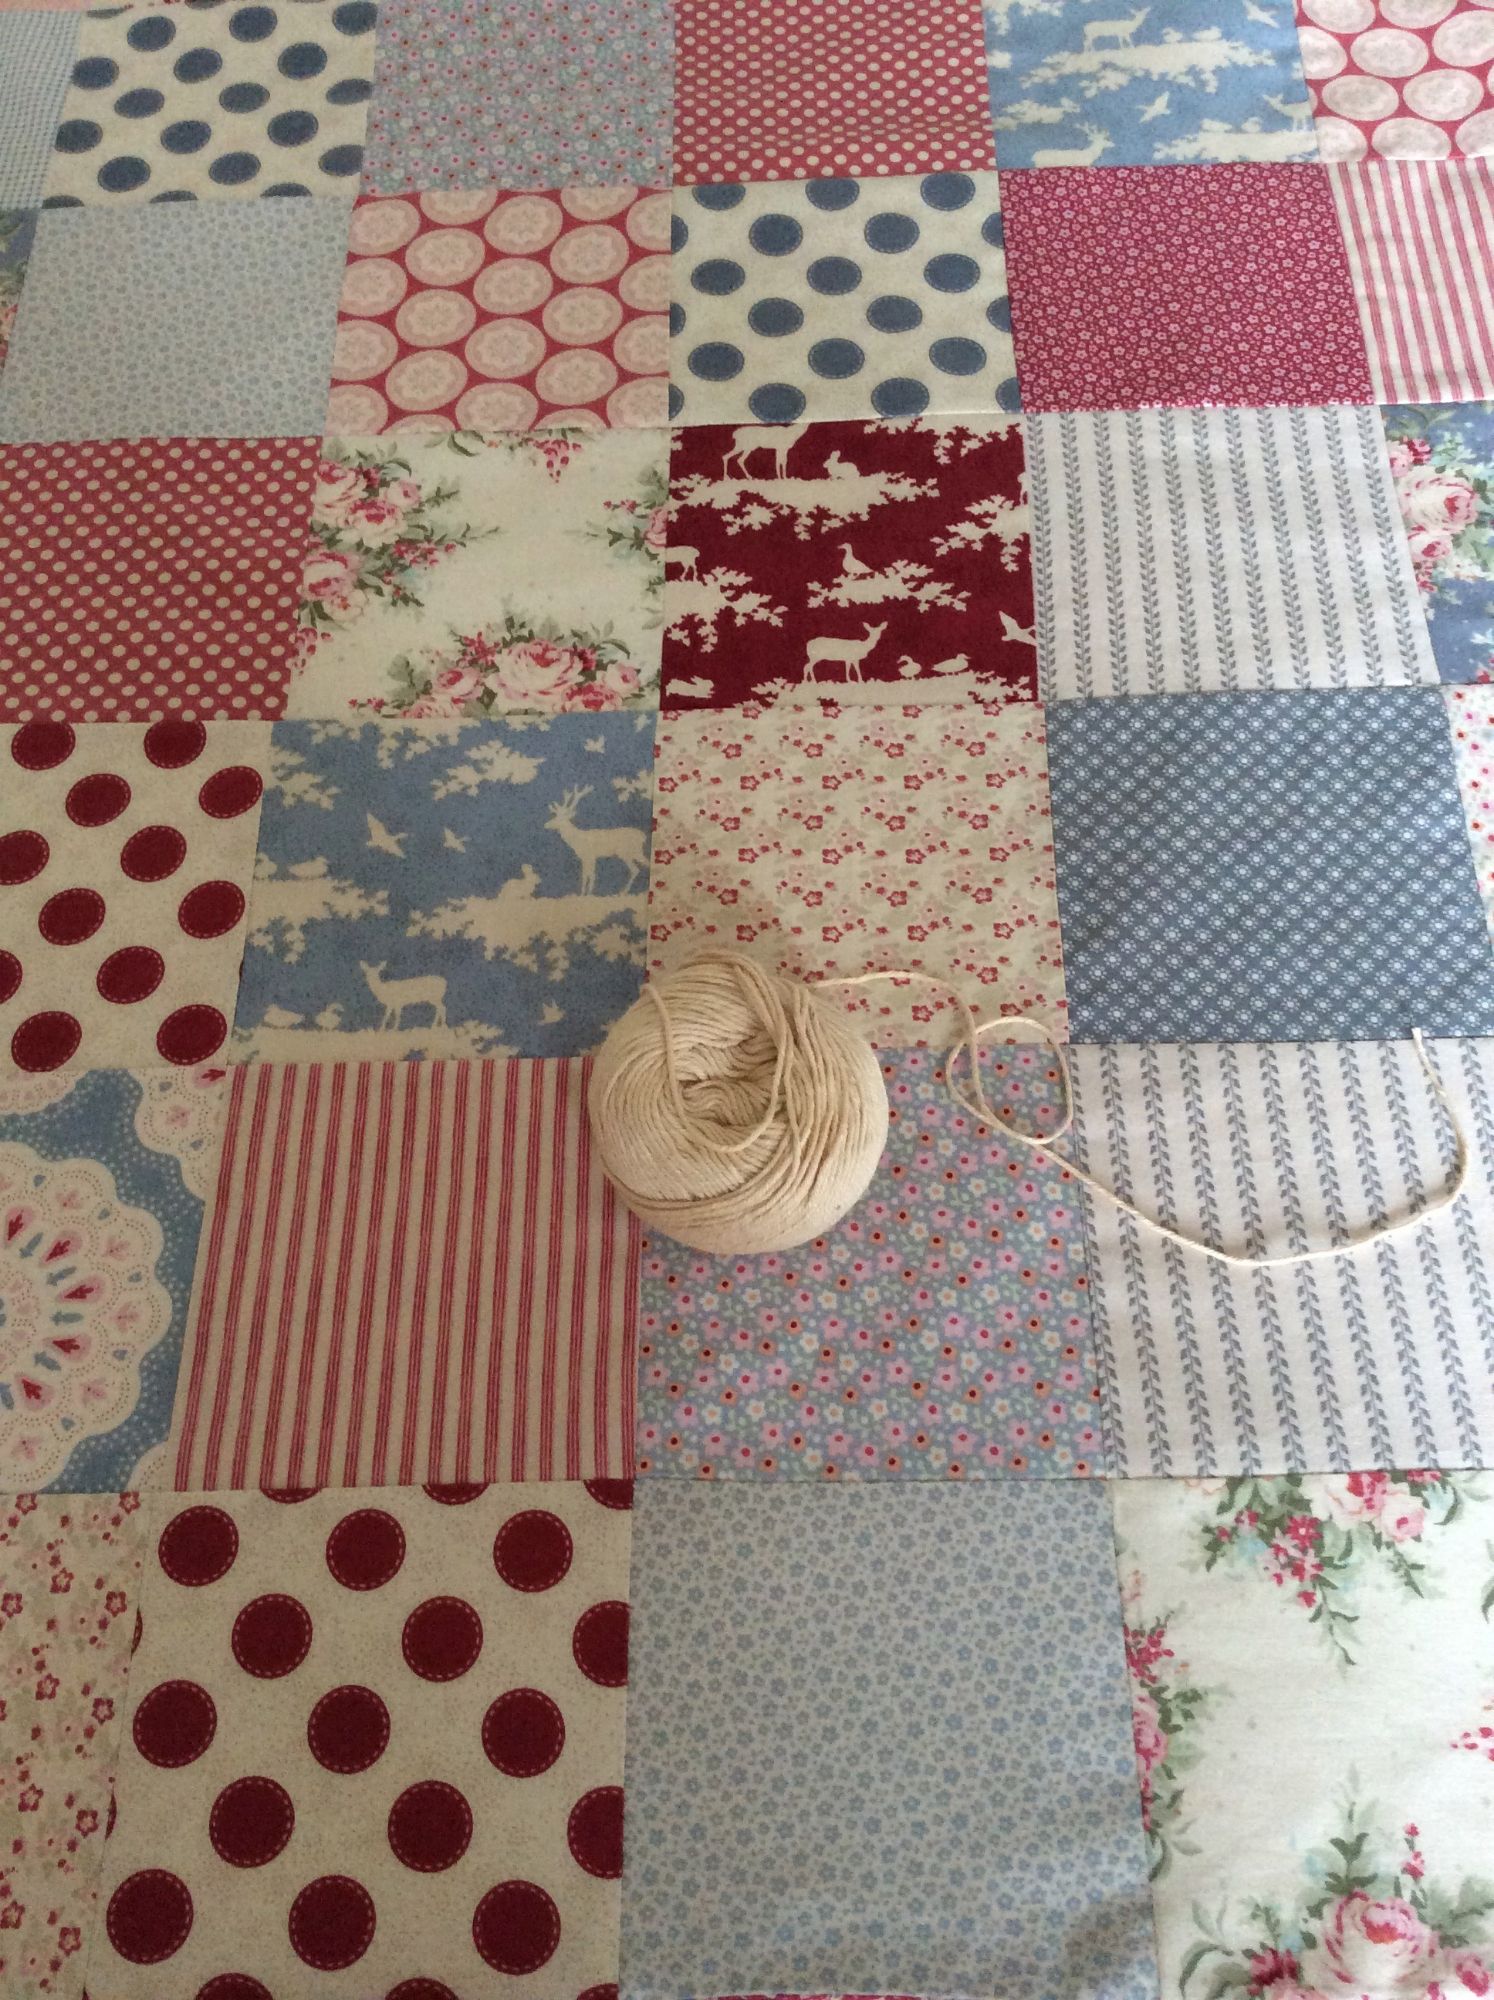
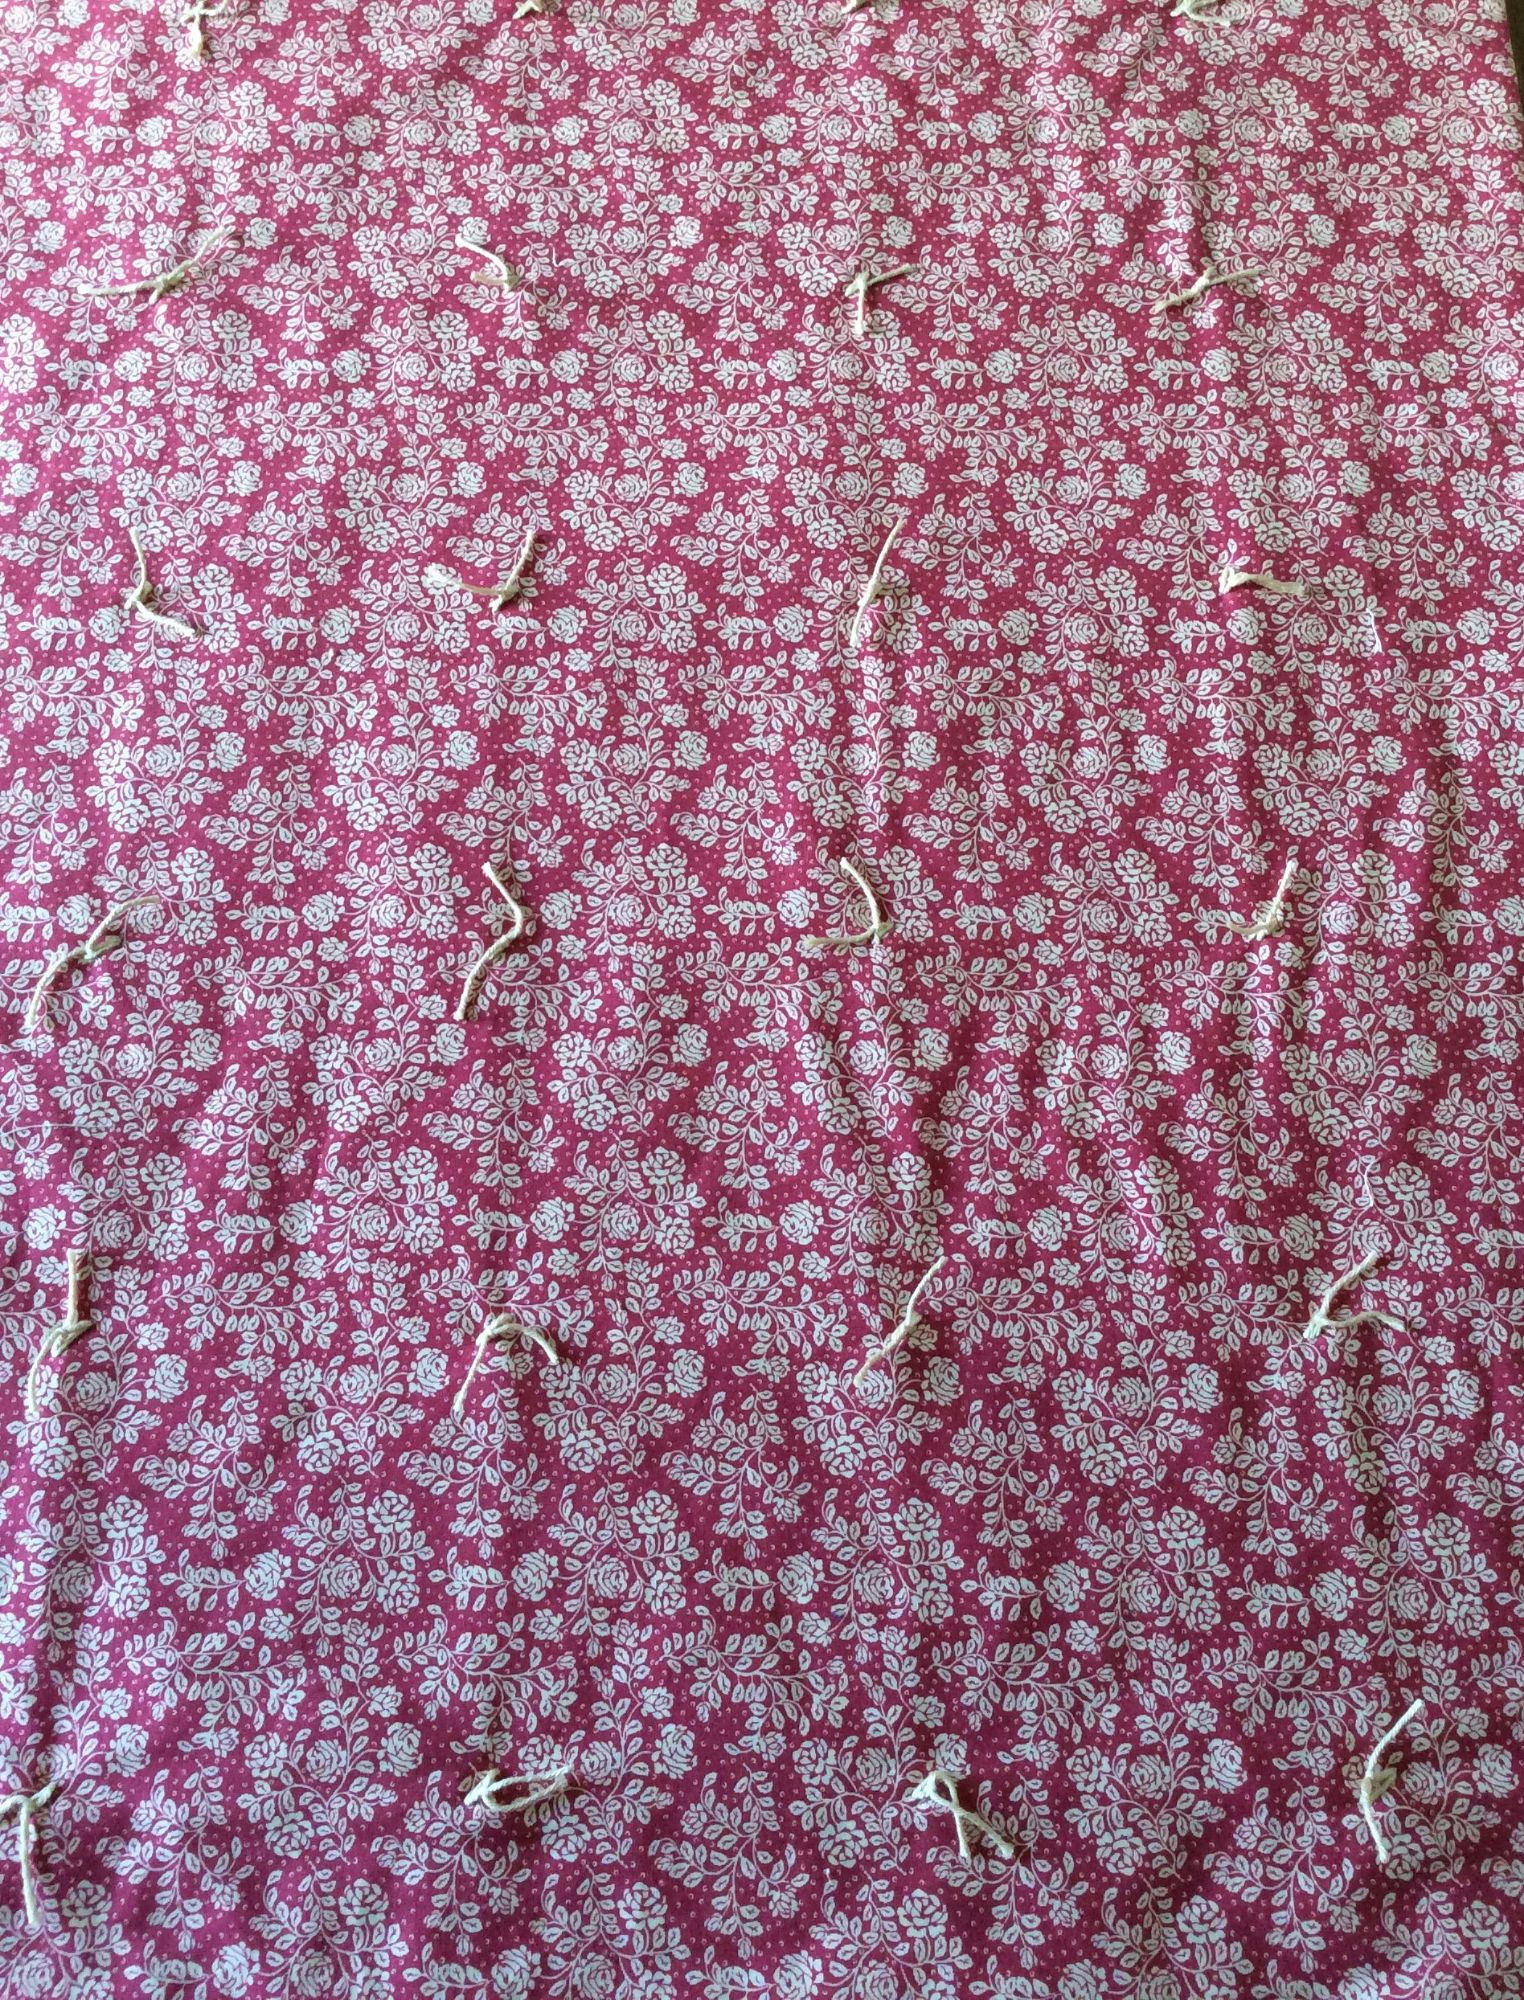
    It is now up to you whether you want to quilt the patchwork by hand tying it.  I have done this as it anchors the layers and I used some thick cotton thread.  The ties should be evenly spaced about a hand's width apart.  You will see from the image below that I've put stitches in the corners of each square.  If you would like instructions on how to do hand tying, let me know and I'll do a short blog.

    Image 23Image 24

    I would love to see any quilts made using this method, so please let me see some photos.  Remember that you can use this method for larger quilts, when you could use a pre-cut layer cake (10" x 10").

    One final point.  It's worth giving your bobbin case a good clean out as the wadding tends to leave  fibres.